Easiest Latching Car Seats Compared By Force And Safety
By Rafael Ortiz • 21st May
For parents hunting for the easiest latching car seats, the real goal isn't just convenience - it's repeatable, low-effort installs that stay rock-solid under crash forces. For the science behind those crash forces, see our force distribution guide. When you strip away marketing, the best seats combine foolproof installation mechanisms with honest geometry and clear safety margins.
In this comparison, I'll walk through how different LATCH designs actually behave in the car: how much force they take to tighten, how reliably they stay tight, and how well they prevent common installation errors. The aim is to help you build a short list that fits your vehicle, your caregivers, and your long-term plan to buy once, use for years.
1. What "easiest" really means: force + safety, not just features
Before we talk brands and mechanisms, we need a working definition of "easy."
1.1 Four metrics that matter
When I compare latch systems, I look at four dimensions:
- Installation force
- How hard do you have to pull on the strap to get a <1" wiggle at the belt path?
- Can a smaller, postpartum parent or grandparent realistically achieve this without climbing into the car?
- Steps and body positions
- Do you have to route straps awkwardly, kneel on the seat, or brace your knee against the front seat?
- Or can you stand mostly outside the car and pull in a straight, ergonomic line?
- Latch system reliability comparison
- Does the system stay tight over weeks of use, door slams, and temperature swings?
- Are there built-in safeguards against the most common misuses (twisted straps, half-latched connectors, wrong anchors)?
- Car seat installation error prevention
- Are there visual installation indicators (colors, lines, bubbles) that show when you're within the safe zone?
- Does the seat make the wrong way obviously wrong, harder to do than the right way?
The easiest latching car seat isn't the one that installs fast once, it's the one that installs correctly every time, with minimal force, for every caregiver.
2. LATCH basics in 90 seconds (so the comparisons make sense)
LATCH (Lower Anchors and Tethers for Children) replaces the seat belt for installation in many situations, but it doesn't change the underlying physics.
Key points, distilled from CPST and hospital guidance:
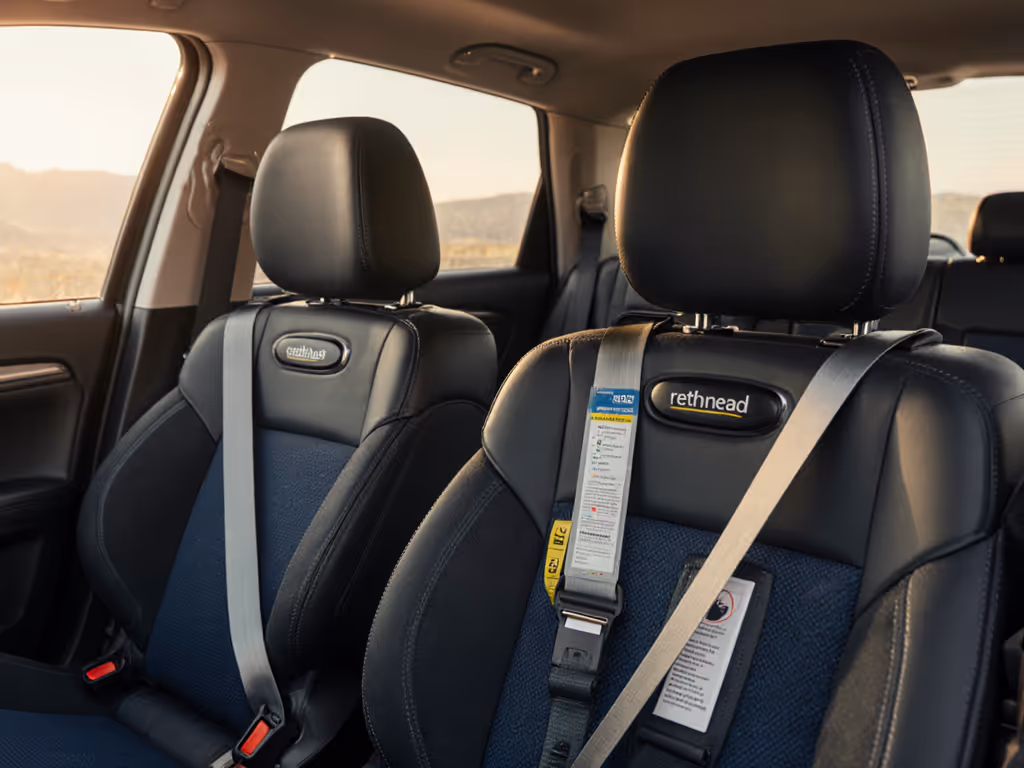
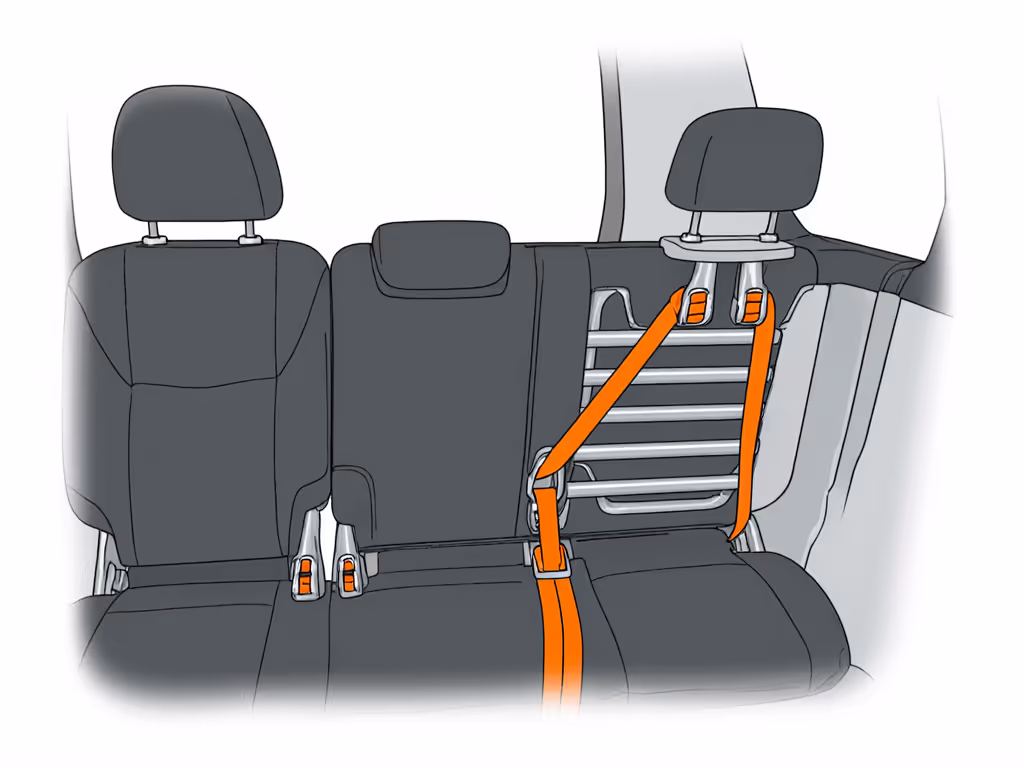
- Lower anchors: Metal bars in the crack between seatback and cushion. Your car seat's LATCH strap hooks or clicks onto these.
- Top tether (forward-facing only): A strap from the top/back of the car seat to a tether anchor behind the vehicle seat. This significantly reduces forward head movement in a crash.
- Use either LATCH or seat belt (plus the top tether when forward-facing) unless your manual explicitly allows both.
- Check weight limits: Most vehicles cap lower anchor use at a combined child+seat weight (often around 65 lb, but always verify in your manuals). Beyond that, you switch to seat belt install and keep using the top tether.
- Tightness rule: Hold the seat at the belt path and push/pull; it should not move more than about 1" side-to-side or front-to-back.
This baseline makes it easier to understand why some LATCH designs feel effortless and others feel like arm-day at the gym. For step-by-step techniques across different vehicles, use our vehicle-tuned installation guide.
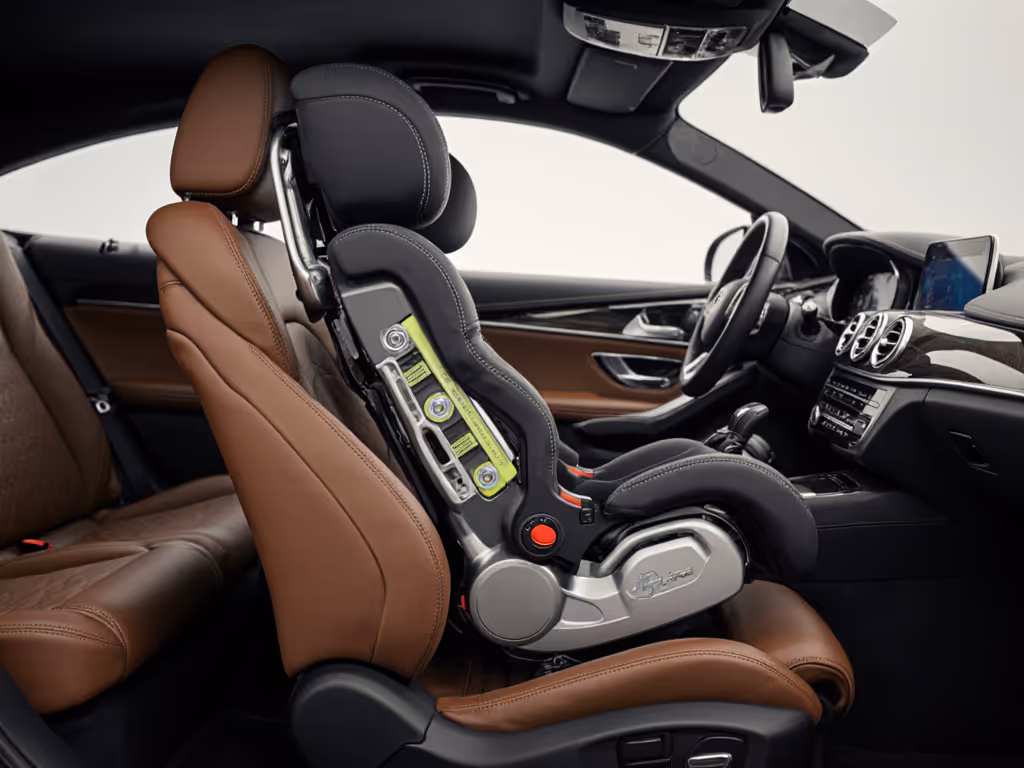
3. LATCH connector types: hooks vs push-on vs rigid bars
Most of the difference in effort and reliability comes down to how the seat attaches to the lower anchors.
3.1 Basic hook connectors
These are the simple metal hooks you pinch open and clip around the anchor.
Pros
- Cheap and widely used (especially on lighter, budget seats).
- Very flexible strap routing; easier to thread through tight spaces.
Cons
- More installation force: you often need to push your body weight into the seat while yanking the strap at a sharp angle.
- Higher misuse risk: hooks can be clipped upside down or onto the wrong bar (e.g., seat frame instead of anchor).
- Harder for grandparents or caregivers with limited grip strength.
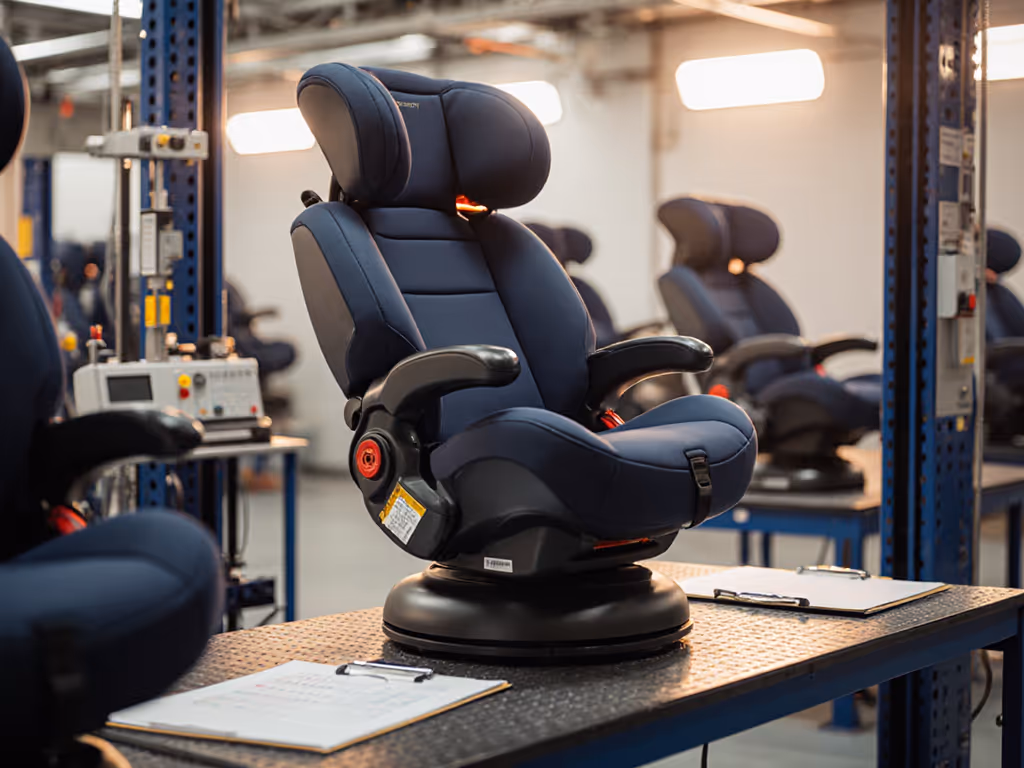
From a latch installation force measurement standpoint, CPSTs routinely see caregivers fail to reach that <1" movement threshold with hook connectors because it simply takes more leverage and body positioning to pull the strap tight.
3.2 Push-on (push-button) connectors
These are the premium connectors that push straight onto the anchor with a solid click and release via a button.
Pros
- Lower install effort: you can usually stand at the door, press the connector straight on, and pull the strap in a more natural line.
- Clear tactile and audible feedback when connected.
- Easier to remove, especially in tight spaces, because you avoid prying a hook off the bar.
Cons
- Slightly bulkier; in very tight three-across scenarios, the connector head can collide with adjacent seats.
- Usually found on mid- to higher-priced models.
In side-by-side comparisons, push-on connectors typically require noticeably less strap tension and fewer re-tighten attempts to achieve a solid install. See our LATCH install force comparison for measured differences between connector types. That translates into faster, more consistent setups across multiple vehicles.
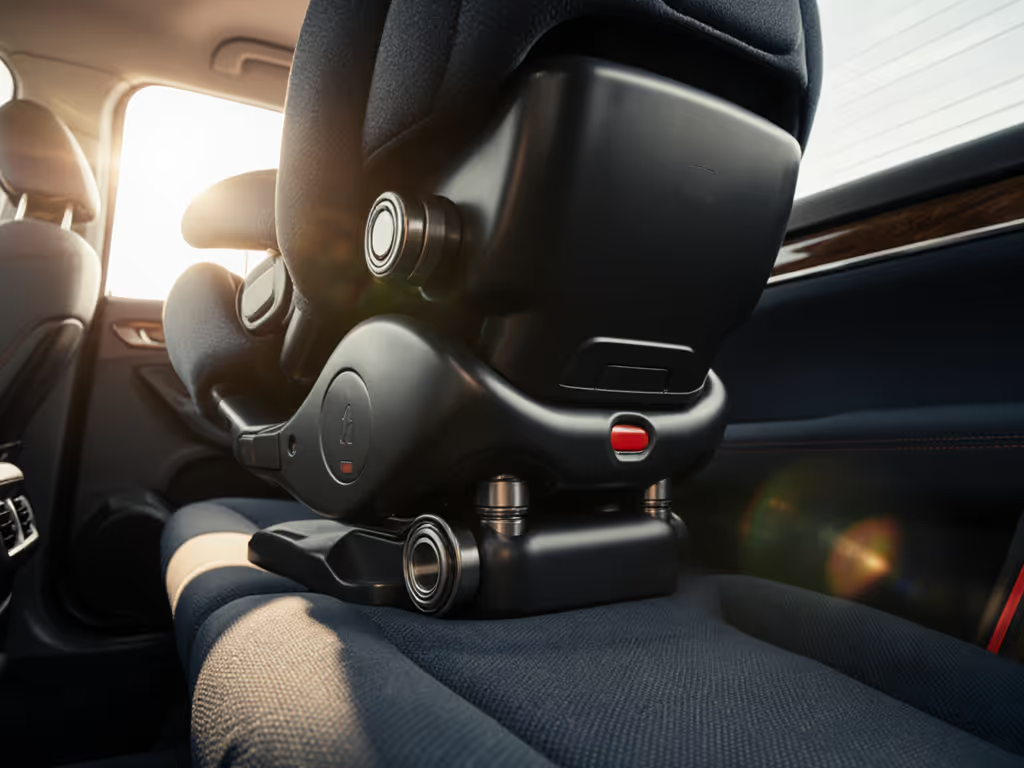
3.3 Rigid LATCH bars
With rigid LATCH, the connectors are fixed metal bars on the seat or base that slide directly onto the lower anchors. You push the whole seat toward the vehicle backrest until it clicks.
Rigid LATCH is more common in European-style infant seat bases and some boosters than in U.S. convertibles, but it's worth understanding because it represents the low-force ideal.
Pros
- Minimal installation force: you align, push, and the seat locks directly onto the anchors, no straps to tension.
- Excellent alignment and stability; the connection is very direct.
- Misuse-resistant: it's visually obvious when you're not on the anchors.
Cons
- Limited flexibility: works best when the vehicle's anchors are exposed and spaced exactly where the bars expect them.
- Often restricted to specific seating positions and vehicle types.
- Less common in long-range, extended-use convertibles.
Think of rigid LATCH as the benchmark for foolproof installation mechanisms: when geometry cooperates, the force needed is low and the feedback is clear. For most families, push-on connectors on a convertible or all-in-one seat are the closest practical equivalent.
4. Beyond connectors: the real foolproof features
Even the best connectors can be sabotaged by confusing recline angles or hard-to-see routing paths. The seats that truly stand out combine easier LATCH with design elements that make misuse harder.
4.1 Visual installation indicators
Look for:
- Level indicators for rear-facing: bubble levels, sliders, or colored zones that show when the recline is appropriate for your child's age/weight.
- Color change locks: mechanisms that turn from red to green when the base is latched or tensioned correctly.
- Clearly marked belt/LATCH paths with distinct colors for rear- and forward-facing.
These visual installation indicators reduce guesswork and massively improve car seat installation error prevention, especially when multiple caregivers are involved.
4.2 Built-in tensioners and lockoffs
Some seats go further and add mechanical aids:
- LATCH tensioners or ratchets: levers or cams that multiply your pulling force, so you don't need to yank as hard on the strap.
- Belt tensioners/lockoffs: even if you start with LATCH, you may eventually switch to seat belt as the child grows. Seats with robust belt tensioning make that transition easier and safer.
From a force perspective, these systems are game changers. A caregiver who struggles to pull a plain LATCH strap tight can often achieve the same tightness with a few smooth presses on a tensioning lever.
4.3 Geometry that supports easy installs
Seats with deeper shells, reasonable bases, and accessible paths are less fussy to install tightly because the strap runs straight and doesn't bind.
- A straight strap run means less friction and fewer micro-losses of tension.
- Open belt paths are easier to double-check for twists and slack.
- Thoughtful shell depth and harness height ensure the seat you install today still fits your child's torso two or three growth spurts from now.
This is where my own spreadsheet habit comes in: once you overlay your child's growth percentiles onto harness heights and shell depth, you see which designs are built to last. The seats that stay usable as your child grows (and install easily at each stage) are the ones that justify the phrase buy once, use for years.
5. Force and reliability by scenario: a quick matrix
Different households need different flavors of easy. Here's a simplified scenario matrix that blends latch system reliability comparison with real-world routines.
5.1 Multi-vehicle and rideshare families
Profile: Urban/suburban, frequent transfers between parents' cars, occasional taxis/rentals.
Best bets:
- Convertible or all-in-one seat with push-on LATCH and strong seat-belt tensioning for non-LATCH vehicles.
- Clear visual indicators (level lines, lock color changes) for quick double-checks.
Why:
- Push-on LATCH lowers installation force for quick swaps between familiar vehicles.
- Good belt tensioners protect you from the reality that many rideshares have awkward anchor access or none at all in the middle seat.
5.2 One primary car + grandparent / daycare vehicle
Profile: Main family car + secondary vehicle used weekly.
Best bets:
- Primary seat: focus on geometry and longevity (tall harness, deep shell) with decent LATCH ease.
- Secondary seat: lighter model with push-on connectors and simple recline, even if the lifespan is a bit shorter.
Why:
- In the primary car, you're optimizing both daily comfort and long-range usability.
- In the secondary car, installation force and simplicity for grandparents matter more than squeezing out the last inch of harness height.
5.3 Tight three-across or compact sedans
Profile: Need two or three seats/boosters in the back row.
Best bets:
- Narrow seats with low-profile push-on LATCH or even well-designed hook connectors, if space around the anchors is extremely tight.
- Open belt paths and clear routing diagrams, because you may need to use seat belts for some positions.
Why:
- Bulky connectors can collide with neighboring seats or make it impossible to access the buckle for boosters.
- Here, a slightly higher installation force may be acceptable if the geometry allows everything to fit safely.
6. How to think about installation force at home
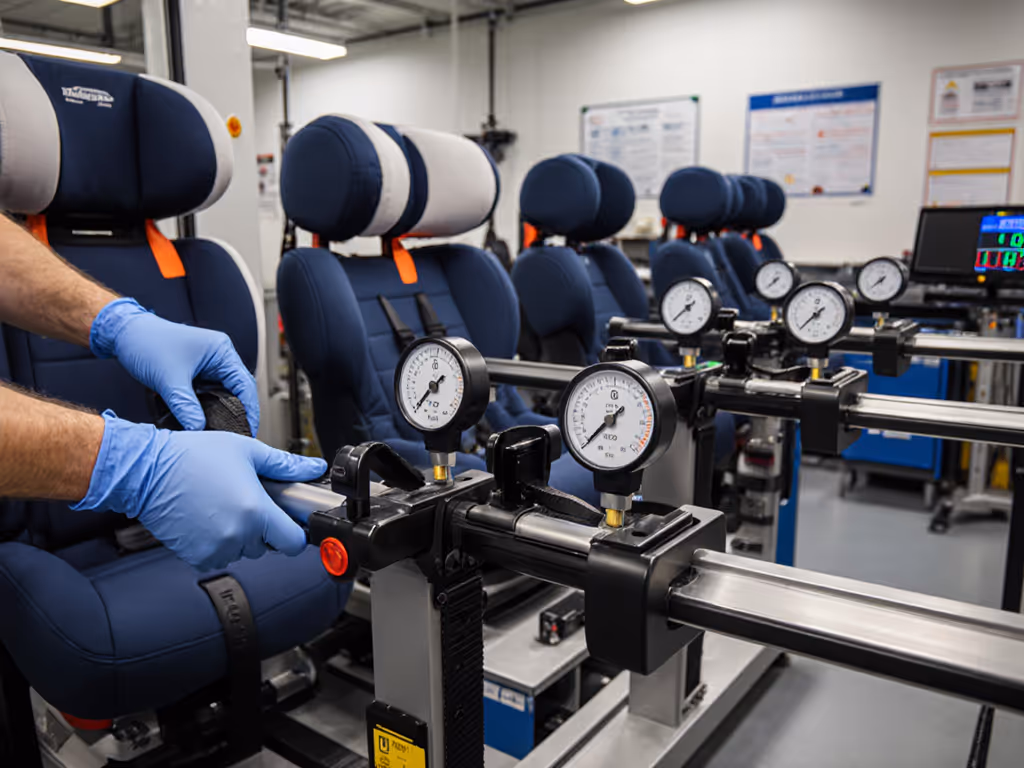
Most caregivers don't have a load cell or test rig in the garage, but you can still think systematically about latch installation force measurement.
6.1 Simple at-home checks
After installing with LATCH:
- Body effort check
- Ask yourself: did you need to kneel on the seat, brace off the front seat, or use more than a firm two-handed pull to get it tight?
- If yes, that install may be hard to repeat for a smaller caregiver.
- Re-install audit
- Have the second caregiver (partner, grandparent) uninstall and reinstall following the manual or video only.
- If they can't get <1" movement without coaching or extra force, the setup is not easy for your household.
- Angle and strap path
- If tightening requires pulling the strap sideways or around a corner, friction is fighting you. Seats that allow a straight, forward-pull motion usually demand less effort.
6.2 When to consider seat belt instead of LATCH
Sometimes the easiest correct install for your vehicle is the seat belt, especially with seats that have strong built-in belt tensioners or lockoffs.
Consider switching to seat belt (plus top tether when forward-facing) if:
- Your child+seat weight is at or approaching the lower anchor limit in the manuals.
- The anchor position or seat contour makes it nearly impossible to pull the LATCH strap tight without contortions.
- A CPST or in-person check confirms you get a more stable install with the belt.
The safest method is the one that gives you a solid, repeatable install with <1" movement, whether that's LATCH or seat belt.
7. Matching easy LATCH to long-term fit (geometry matters)
A seat that latches like a dream but is outgrown at age three isn't a great investment. Install mechanics and geometry have to work together.
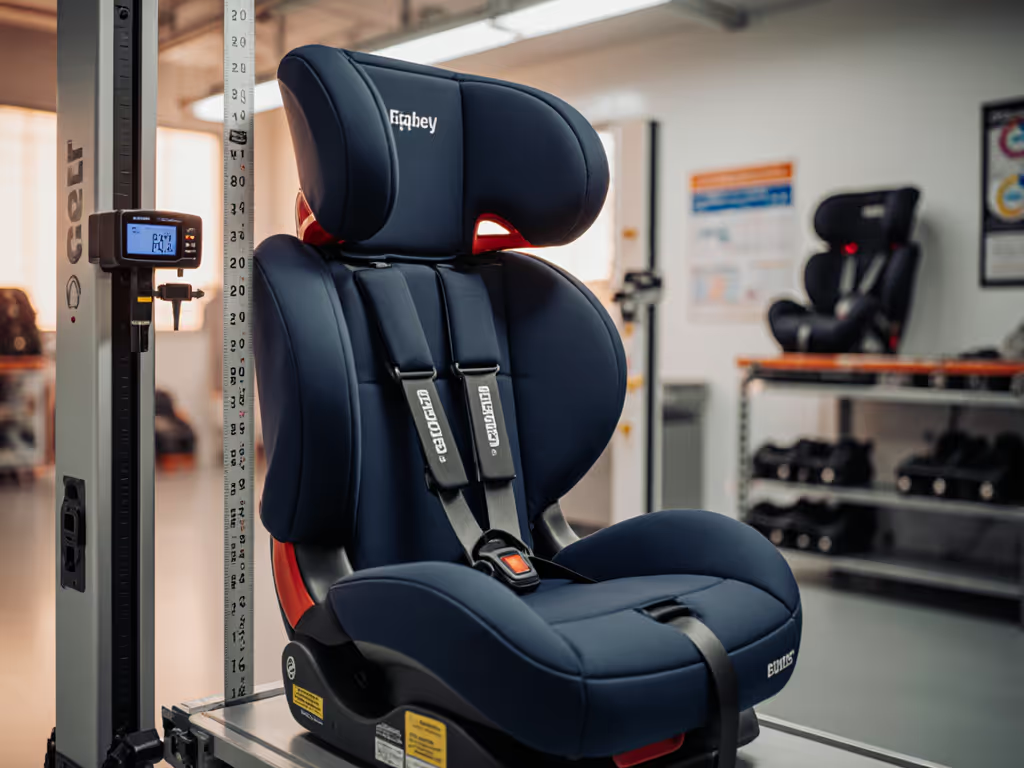
7.1 Harness height and shell depth
Children outgrow seats by torso height before weight more often than most parents expect.
Think in ranges rather than promises:
- Shorter-torso toddlers (10-25th percentile) may rear-face comfortably in many convertibles until 3.5-5 years if the shell is reasonably tall.
- Average-torso toddlers (25-75th) need taller shells and higher top harness slots to make it to 4-6 years harnessed.
- Long-torso toddlers (75-95th+) can hit harness height limits surprisingly early unless you choose a seat with top slots toward the higher end of the market range.
When I modeled my nephew's growth against different seats, one convertible with generous harness height and deep shell stayed viable years longer than others, even though they all claimed similar age ranges. For daily ease as kids grow, consider no-rethread harness car seats that adjust height without rethreading. That's when it became obvious to me that longevity lives in harness height, shell depth, and honest geometry.
7.2 Recline and front-seat legroom
Easy LATCH isn't much help if you can't get the correct recline without crushing front legroom.
Checklist:
- Rear-facing: Does the seat offer multiple recline positions or an angle adjuster so you can achieve a safe angle and keep the front passenger seat usable?
- Forward-facing: Can you attach the top tether without fighting fixed headrests or overly reclined vehicle seatbacks?
Seats that balance these geometric factors and offer low-force LATCH setups are the ones that will install easily today and continue to work as you adjust recline and orientation over the years. If cabin space is your limiter, start with our best narrow convertible car seats for small cars.
8. Building your short list: a step-by-step approach
Instead of starting with brand names, start with your constraints and work inward.
Step 1: Map your vehicle and seating positions
- Identify which positions have lower anchors and where the top tether anchors are located.
- Note quirks: very sloped cushions, fixed headrests, or narrow middle seats.
Step 2: Decide your primary install method
- If your anchor positions are easily accessible and you're under weight limits, plan on LATCH with push-on connectors for key positions.
- If anchors are buried or oddly placed, prioritize seats with strong belt tensioners for long-term flexibility.
Step 3: Filter seats by LATCH design and error-prevention features
Look for:
- Push-on or rigid LATCH (where available) for lower installation force.
- Clear visual installation indicators and labeled paths.
- Built-in tensioners and easy-to-reach release buttons.
Step 4: Apply the geometry and longevity filter
From the remaining seats, prioritize those with:
- Higher top harness slots and deeper shells (published measurements and CPST reviews can help).
- Multiple recline settings that still work in your vehicle when tested in person if possible.
- Reasonable overall width if you foresee three-across or carpool scenarios.
Step 5: Test installs and involve all caregivers
- Watch the manufacturer's install video and read the manual once.
- Have each regular caregiver do a full install using LATCH in your actual vehicle.
- Time it, and check the <1" movement rule at the belt path. If someone can't reliably achieve that without heroic effort, treat that as a red flag.
9. Where to go from here
Force-efficient, reliably tight installs are not a luxury, they're the foundation for every other safety feature on the spec sheet. The seats that truly qualify as the easiest latching car seats are the ones that:
- Use push-on or rigid connectors to reduce the physical effort of tightening.
- Layer in foolproof installation mechanisms like visual indicators and mechanical tensioners.
- Pair that ease with shell geometry and harness height that can realistically carry your child through years of safe use.
From here, I'd encourage you to:
- Shortlist 2-3 models that match your vehicle and scenarios using the steps above.
- Cross-check them with CPST-run resources and up-to-date crash-testing reviews.
- If possible, schedule a seat-check event or in-person consult to validate your installs.
As your child grows and your vehicle life shifts (from infant days to preschool carpools) revisit your setup with the same lens: installation force, error prevention, and honest geometry. That's how you turn a one-time purchase into a seat you can confidently buy once, use for years.
Rafael Ortiz models how a single convertible seat can span infant-to-booster years, accounting for growth, carpools, and vehicle changes.
Related Articles