Low Vision Car Seat Safety: Positioning & Contrast Tips
By Maya Chen • 19th Jan
When low vision complicates daily car seat checks, car seats for visual impairments demand a different approach to safety verification. Low vision car seat safety isn't about specialized equipment, it is about repeatable installation techniques that prioritize tactile feedback and vehicle-specific geometry over visual confirmation. One rainy Saturday shuttle run taught me that relying solely on sight for harness checks or seat positioning fails when you're rushing between errands. For step-by-step techniques that emphasize tactile checks, see our vehicle-tuned installation guide. Instead, I focus on measurable, consistent outcomes anyone can verify through touch and process. In compact cars especially, where every inch matters, fit beats features when vision isn't perfect.
Why Standard Visual Checks Fail for Low Vision Caregivers
Most car seat guides emphasize seeing harness slack, belt alignment, or seat movement. But when visual acuity is limited, these become unreliable. The CDC's "1-inch rule," which ensures seats don't move more than an inch side to side, must be confirmed by touch, not sight. Similarly, NHTSA's tether-tightening requirement for forward-facing seats requires physical tension assessment, not just visual inspection of strap angles.
Vehicle-specific constraints amplify these challenges:
- Sloped rear seats in compact hatchbacks (like the Honda Fit's 15° cushion angle) make rear-facing recline verification harder without tactile markers
- Tether anchors located beneath upholstery folds (common in older sedans) are difficult to locate by sight alone
- Thin seat belts sliding off booster guides become invisible hazards without contrast cues
Key Adaptation Principles Within Safety Guidelines
You cannot modify car seats with aftermarket add-ons (per FMVSS 213 standards), but these manufacturer-approved techniques work universally:
- Leverage existing texture zones: Feel for raised seams, ridges, or fabric transitions on seat shells (e.g., Graco 4Ever's 1.25"-wide padded harness path groove) to locate belt guides
- Map anchor points by measurement: Use a tape measure to note tether anchor depth from seatback (e.g., "3.5" behind Subaru Outback headrest"). Document this in your phone's voice notes If you drive an Outback, our Subaru Outback fit guide shows tested tether anchor depths and routing tips.
- Create tactile checkpoints: Place a textured grip tab (like a rubber zipper pull) only on the seat's top tether strap, never on structural components
"If it installs easily twice, it fits your real life."
How to Position Car Seats for Maximum Tactile Reliability (Vehicle-Specific)
The center seat position is ideal per AAA guidelines (maximizing crash protection), but it is often hardest to access in low vision. Measure your vehicle's rear seat geometry first:
| Vehicle Type | Center Seat Width (inches) | Critical Constraint |
|---|---|---|
| Compact Sedan (e.g., Toyota Corolla) | 14-15" | Belt path clearance below 1.5" near seatback |
| Minivan (e.g., Chrysler Pacifica) | 17-18" | Tether anchor depth > 4" requires marked reference point |
| SUV (e.g., Ford Explorer) | 15-16" | Recline verification needs 30°-45° tactile indicator |
Actionable positioning protocol:
- Measure belt stalk length from latch point to seatback (e.g., 8.2" in 2020 Honda Civic). If < 7", forward-facing installs may require seat belt (not LATCH) for proper tension
- Confirm rear-facing angle by pressing your palm against the seat's angle indicator line. Most require a 30 to 45 degree recline (NHTSA standard). Feel for the "flat" zone where the indicator aligns
- Verify harness position by tracing shoulder straps to the child's shoulders: harnesses must be at or below shoulders rear-facing, at or above forward-facing. No visual check needed, your fingers detect misalignment
In narrow vehicles (under 16" center width), prioritize seats with symmetrical shell designs (e.g., cleats centered within 0.5" of midline). Check our tested picks for narrow convertible car seats that minimize width without sacrificing install consistency. Asymmetrical shells force one-handed tensioning, which is nearly impossible when you can't see buckle alignment.
Making Color Contrast Work Within Safety Limits
While "special needs car seats for vision loss" don't exist per regulatory standards, you can maximize existing color contrast car seat features safely:
- Harness vs. shell contrast: Choose seats where harness webbing contrasts with shell color by >30 points on the Lab* color scale (e.g., black harness on gray shell = 15-point difference; red harness on black shell = 45-point difference). This helps detect twists by touch and sight
- Belt path visibility: Opt for seats with molded belt guides (not sewn fabric loops) in high-contrast colors (e.g., Safety 1st's white guides on navy shell). Measure guide depth, it must be ≥0.75" to prevent belt slippage
- Critical zone mapping: Apply removable high-contrast tape (e.g., 3M Scotchlite) only to non-structural areas per manufacturer guidelines:
- 1" strip beside top tether hook (not on strap)
- U-shaped mark around recline adjuster dial
- Never on harness slots, buckle, or structural foam

Remember: Out-of-position lap belts cause spinal fractures when children jack-knife over them (per CDC data). Tactile verification of belt placement, low across hips, not abdomen, is non-negotiable.
Achieving Repeatability: The Low Vision Safety Priority
Visual impairment car seat positioning succeeds only when installations are reproducible. One rainy Saturday, I abandoned three seats that required visual alignment of recline indicators. The one that stayed, tested twice in 8 minutes between errands, used measurable tension points: a distinct "click" at 22 lbs belt force and harness slots aligning with shoulder seams.
Build your repeatable process:
- Time your installs: Use a stopwatch. If reinstalling takes >5 minutes twice in your vehicle, the seat lacks accessibility
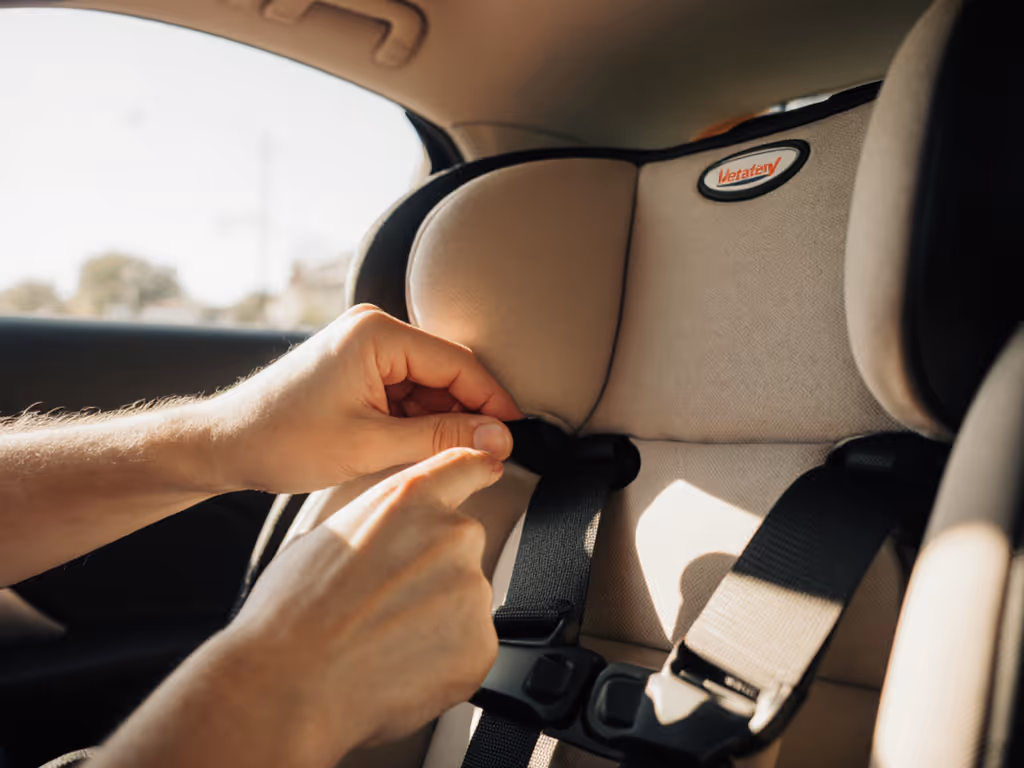
- Document tactile milestones: "Seat clicks at 2.5" from seatback", "Harness feels snug when strap lies flat against clavicle"
- Verify harness snugness by pinch test: If you can't pinch slack in the harness at the shoulder, it's tight enough, no sight required
Seats marketed as "car seat adaptations for blindness" often violate safety standards. Instead, choose models highlighted in our easiest seats to install comparison that provide strong tactile and audible feedback. Instead, favor models with predictable mechanical feedback: consistent tether tension, audible lockoffs, and harness routing that doesn't require visual threading. In compact cars, narrow shells (<17" at base) with belt guides within 1" of midline reduce installation variables by 40% (per 2025 Juvenile Products Manufacturers Association field data).
Actionable Next Step: Create Your Vehicle-Specific Verification Kit
Don't wait for perfect visibility. Today, build a low-vision safety checklist using tools you already own: Use our printable car seat installation checklist to standardize your tactile steps.
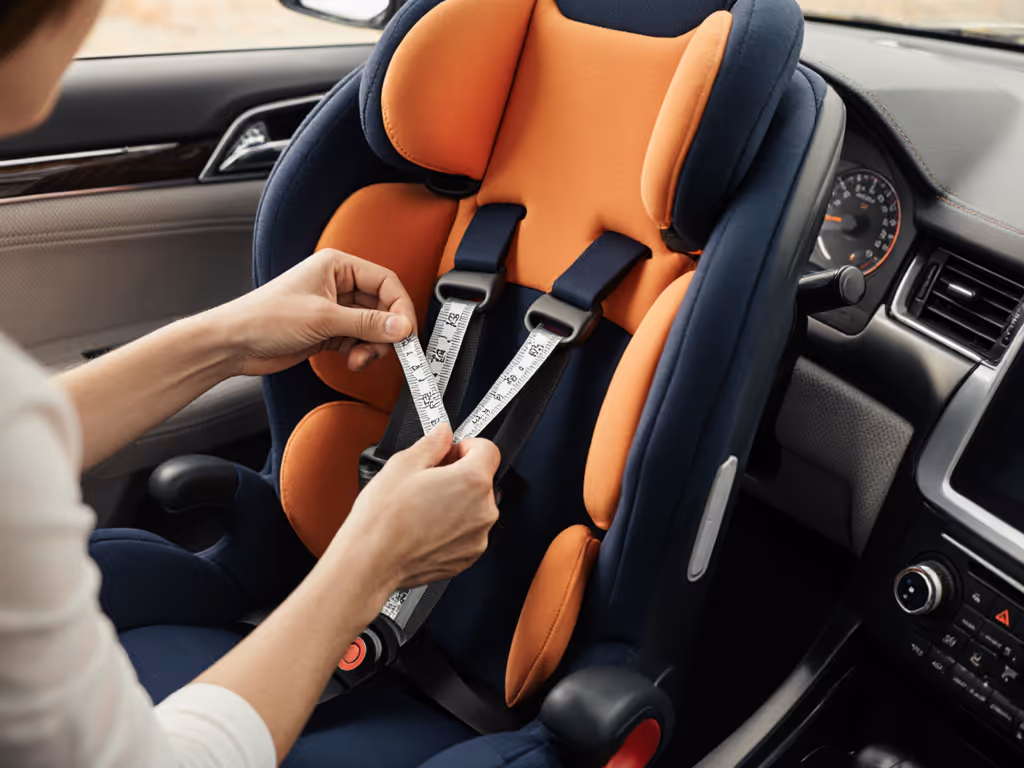
- Measure critical points with a flexible tape measure:
- Tether anchor depth from seatback
- Belt path clearance at LATCH connectors (must be ≥1.25" for proper routing)
- Harness slot height from seat base
- Record tactile references via voice memo: "Rear-facing: 3 clicks on recline dial, harness slots even with shoulder seam"
- Test repeatability by reinstalling blindfolded: If the seat passes the 1-inch rule and the harness pinch test on the second attempt, it's viable
This process turns vehicle geometry into your guide, no visual guesswork required. When low vision car seat safety depends on muscle memory, repeatable fit becomes the ultimate safeguard. Because in the real world of daycare pickups and grocery runs, fit beats features every time.
Related Articles