Rear Facing Seat Installation Steps for Secure Travel
By Aisha Khan • 7th Nov
Over 80 percent of car seats are incorrectly installed, leaving children at risk during everyday drives. For parents and caregivers, understanding the right steps for secure rear-facing car seat installation brings peace of mind and real safety benefits. By learning how to properly assess your vehicle, gather the right tools, and follow expert-recommended procedures, you can protect your child from preventable injuries every time you hit the road.
Quick Summary
| Key Point | Explanation |
|---|---|
| 1. Gather necessary documents and tools | Locate your vehicle owner's manual and car seat instructions to ensure proper installation steps are followed. |
| 2. Position the seat accurately for safety | Ensure the car seat is placed in a rear-facing position at the correct recline angle to protect your child's airway. |
| 3. Secure using LATCH or seat belt | Choose either the LATCH system or vehicle seat belt method, ensuring the installation does not move more than one inch. |
| 4. Adjust harness for snug fit | Position the harness straps at or below shoulder level, with the chest clip at armpit level for maximum protection. |
| 5. Conduct thorough safety checks | Verify the installation stability and harness fit to ensure the car seat is secure and ready for travel. |
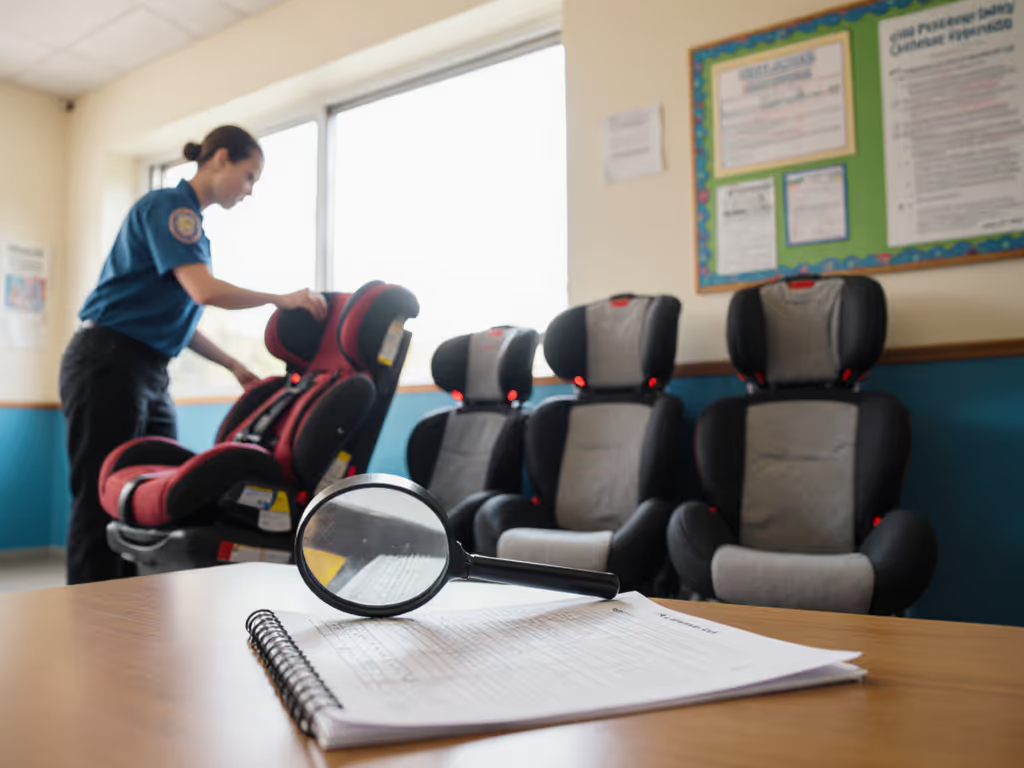
Step 1: Assess your vehicle and gather installation materials
Preparing for a rear-facing car seat installation requires careful vehicle assessment and thoughtful material gathering. You will need to systematically check your vehicle's compatibility and collect all necessary tools before beginning the installation process.
Start by locating two critical documents: your vehicle owner's manual and your car seat manufacturer's instruction manual. These resources will provide specific guidance about proper seat positioning and attachment methods unique to your specific vehicle model. Check the vehicle manual for designated car seat anchor points and understand the seat belt system configuration. The car seat manual will outline weight limits, installation requirements, and specific compatibility details for your particular seat model.
Gather the essential materials before starting your installation. Typically you will need:
- Car seat manufacturer's manual
- Vehicle owner's manual
- Measuring tape
- Flashlight
- Towel or firm pool noodle (for angle adjustments)
- Notepad for recording measurements
Pro Tip: If you are unsure about specific installation requirements, contact a certified child passenger safety technician who can provide personalized guidance for your vehicle and car seat combination.
With your materials assembled and vehicle details reviewed, you are now prepared to move forward with the actual car seat installation process.
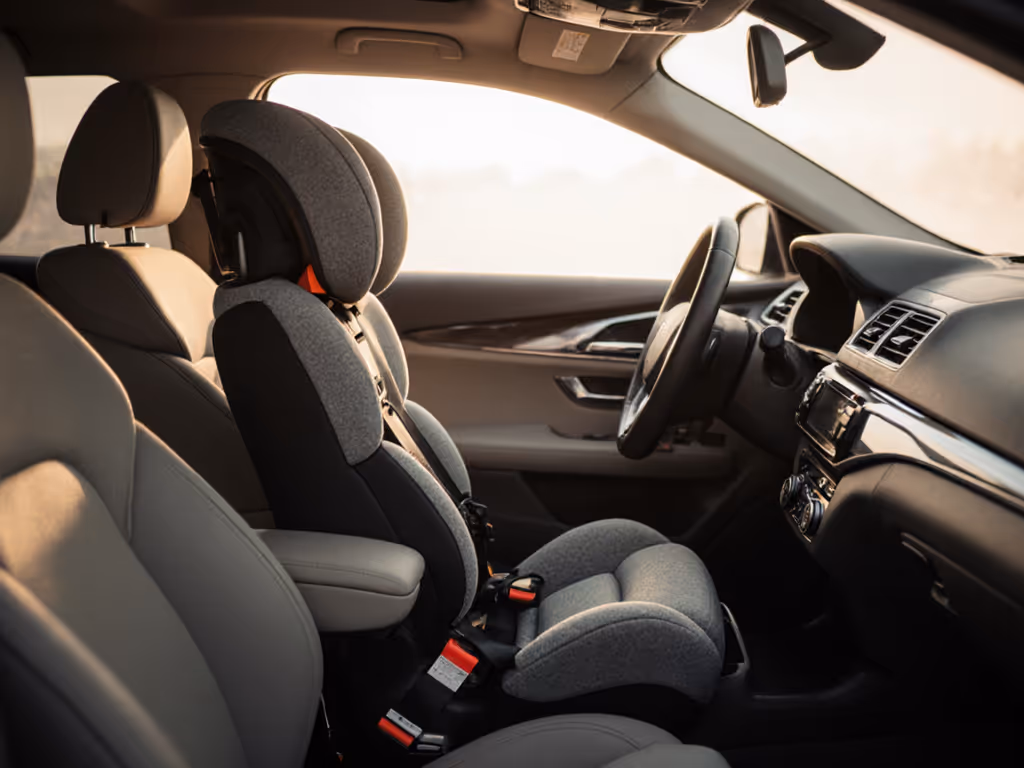
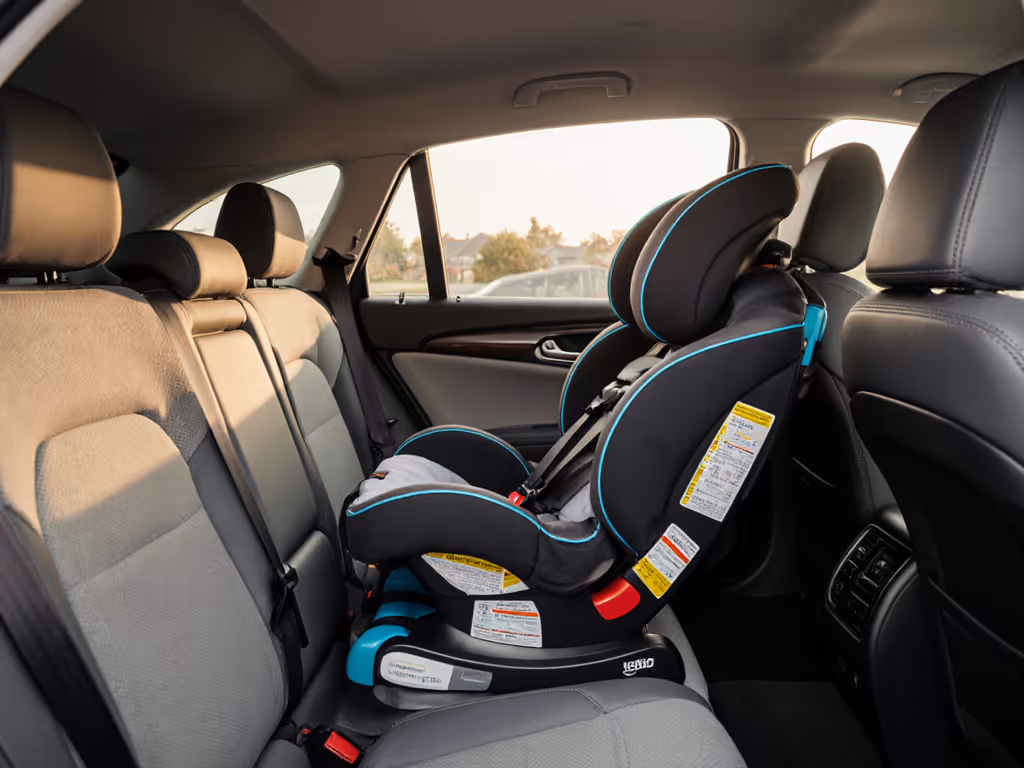
Step 2: Position the seat according to manufacturer guidelines
Positioning your rear-facing car seat correctly is a critical safety step that requires precision and careful attention to manufacturer specifications. This step ensures your child's safety by creating a secure and comfortable seating environment that minimizes risks during travel.
The most important aspect of positioning is achieving the correct recline angle recommended by your car seat manufacturer. Each car seat model has specific angle requirements that prevent an infant's head from falling forward and potentially obstructing their airway. Use the built-in angle indicator on your car seat base or a separate angle measurement tool to confirm you are within the recommended range. Some seats include adjustable bases or support wedges that help you achieve the perfect positioning.
When placing the seat in your vehicle, always install it in the back seat and preferably in the center position. If the center seat is not feasible, choose either the left or right rear passenger seat. Ensure the seat is tight enough that it does not move more than one inch in any direction when you push or pull at the base. Test the movement by gripping the seat near the belt path and applying firm pressure.
Pro Tip: If you are struggling to achieve the correct angle, a rolled towel or a firm pool noodle placed under the car seat base can help adjust the recline without compromising safety.
With the seat positioned correctly, you are now ready to move on to securing the car seat using either the vehicle seat belt or the LATCH system.
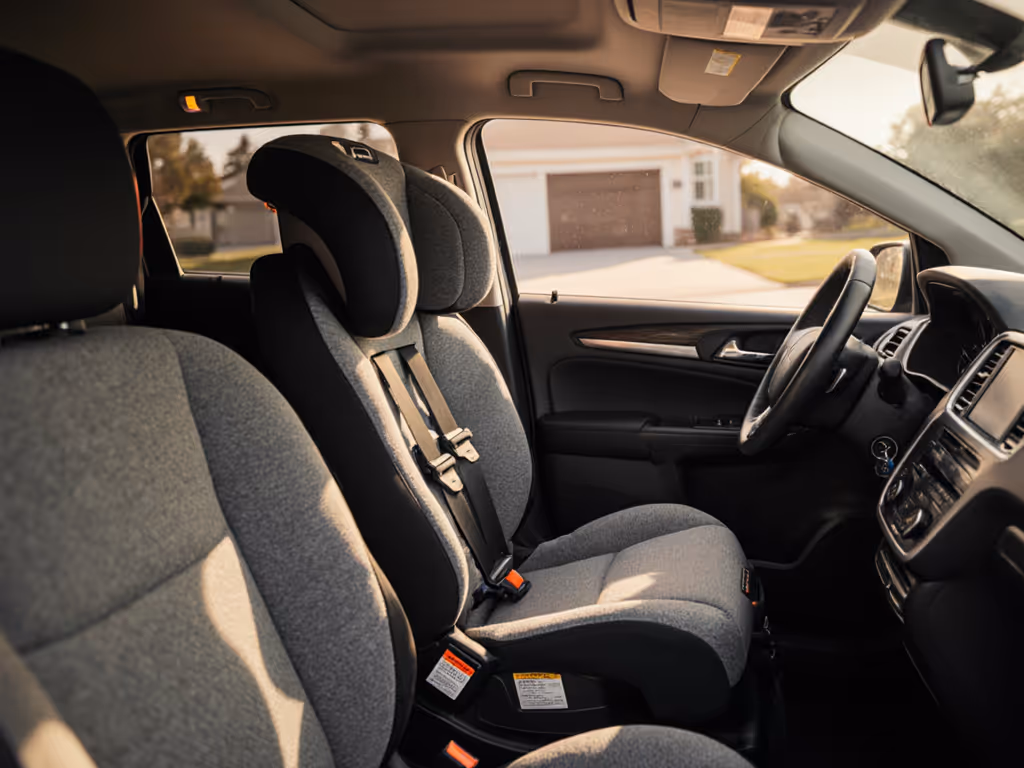
Step 3: Attach and secure the seat using LATCH or seat belt
Securing your rear-facing car seat is a critical safety process that requires precision and understanding of your specific vehicle and car seat installation methods. You will need to choose between two primary attachment systems the LATCH system or the vehicle seat belt method each with its own specific installation requirements.
If using the LATCH system locate the lower anchor points in your vehicle typically marked with a special symbol. Connect the car seat base attachments directly to these anchors ensuring the straps are completely straight and not twisted. Apply firm pressure to tighten the connections. The goal is to minimize movement the base should not shift more than one inch in any direction when you push or pull at the belt path. Many car seats include built-in indicators or tension indicators to help you confirm a secure installation.
Alternatively if using the seat belt method thread the vehicle seat belt through the designated belt path on the car seat base as specified in your car seat manual. Some vehicles require the seat belt to be locked in a specific manner which might involve pulling the belt all the way out and allowing it to retract or using a specific locking mechanism. Press down firmly on the car seat base while tightening the seat belt to eliminate slack and prevent excessive movement.
Pro Tip: Regardless of which attachment method you choose always perform the one-inch test. Grip the car seat near the belt path and try to move it side to side and front to back. If it moves more than one inch in any direction your installation is not secure and needs adjustment.
With the seat securely attached you are now ready to move on to the next crucial step of adjusting and checking the harness system.
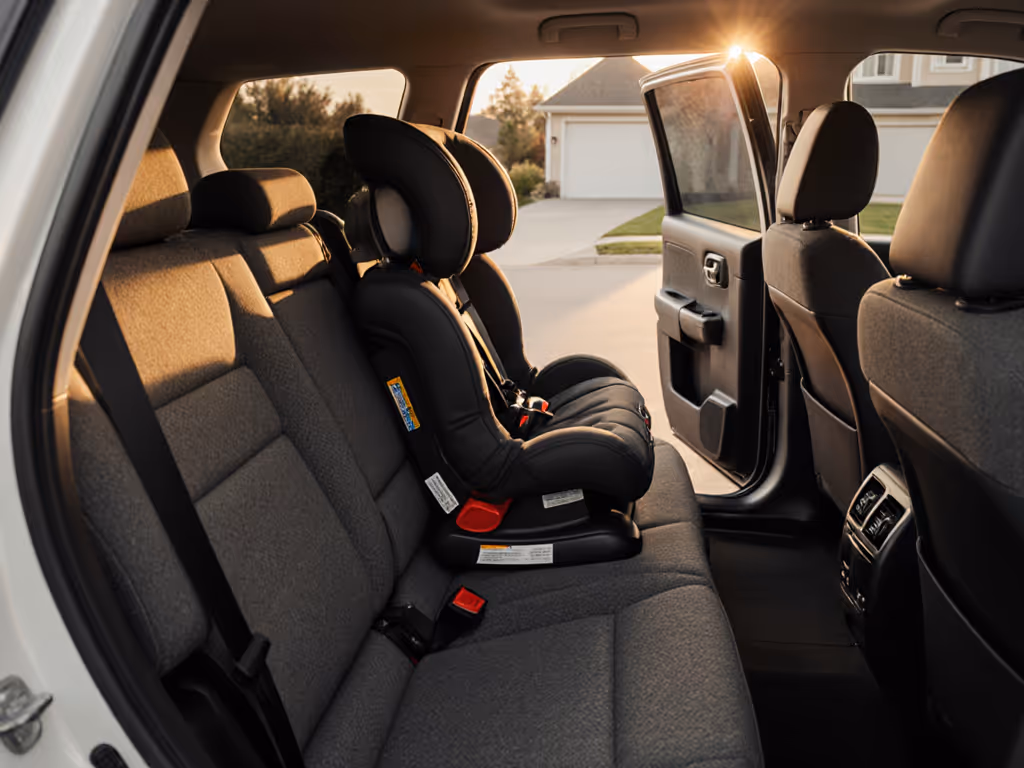
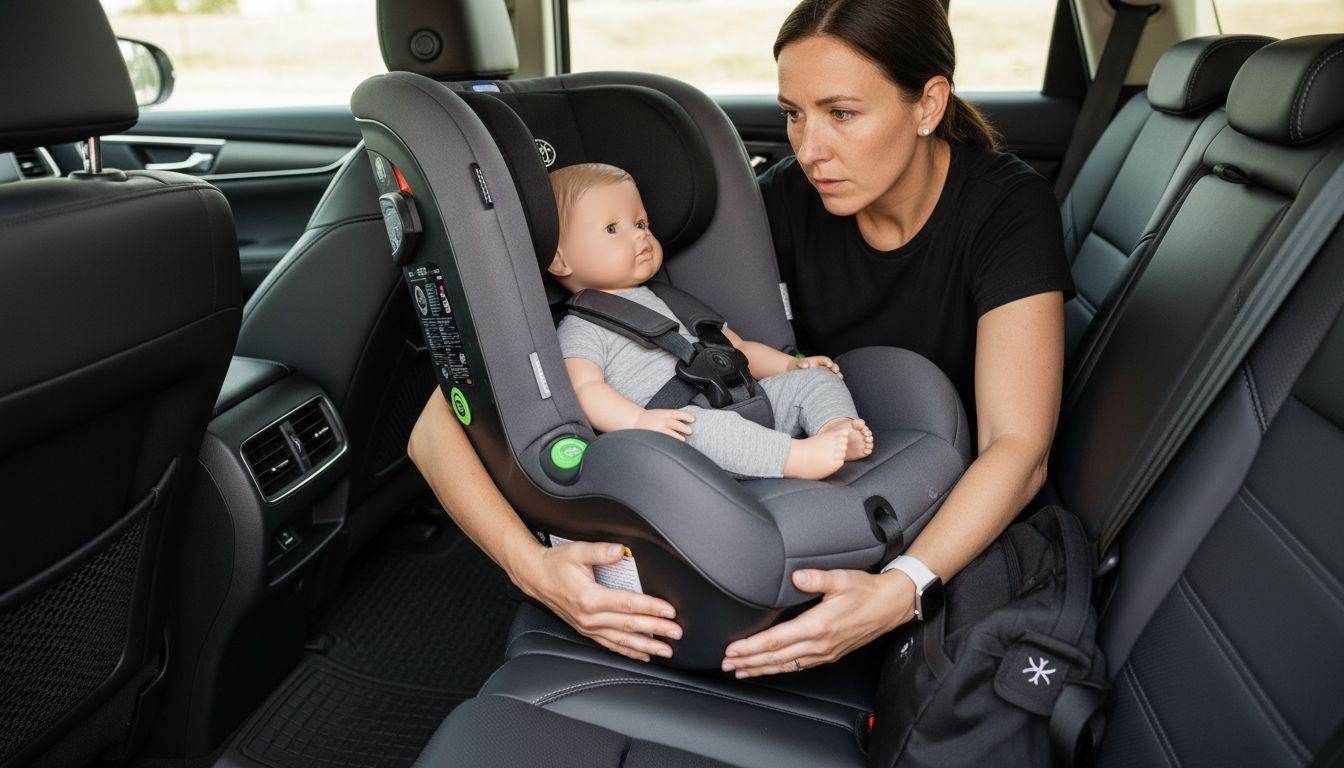
Step 4: Adjust harness and recline angle for your child
Adjusting the harness and recline angle is a nuanced process that directly impacts your child's safety and comfort during car travel. This step requires careful attention to detail and a methodical approach to ensure your little one is securely positioned in the rear-facing car seat.
Begin by positioning the harness straps. Look for harness slots that are at or just below your child's shoulder level. This positioning prevents the straps from sliding off the shoulders and provides maximum protection. When you place your child in the seat, the straps should lie flat against their body without any twists. The chest clip is a critical component and should be positioned exactly at armpit level. This placement helps distribute the harness forces across the strongest parts of your child's body and prevents the straps from sliding off the shoulders.
The recline angle is equally important for young passengers. Infants and younger children require a more reclined position to support their developing neck and head muscles. Use the built-in angle indicator on your car seat to ensure you are within the manufacturer's recommended range. A proper recline prevents the child's head from falling forward and potentially obstructing their airway. Some car seats have multiple recline positions adjust the seat so that your child's head remains supported and does not slump forward when they are sitting still.
Pro Tip: Perform a simple pinch test on the harness straps. If you can pinch any slack between your fingers at the shoulder, the harness is too loose and needs tightening.
With the harness and recline angle correctly adjusted your child is now safely positioned for travel and ready for your next journey.
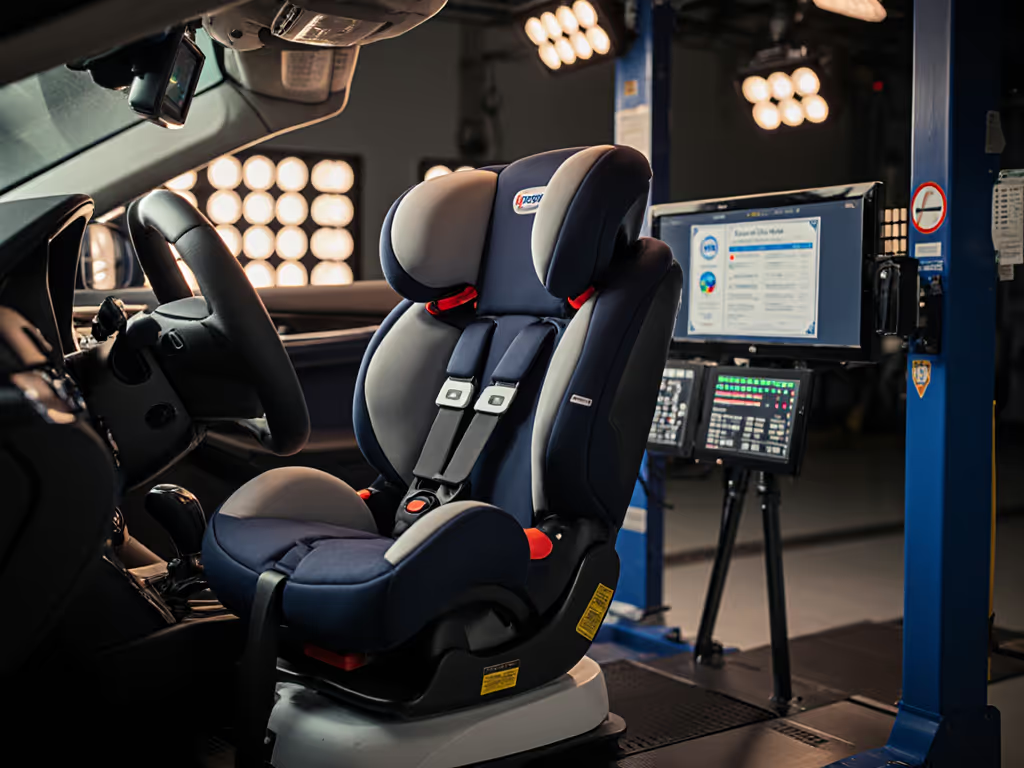
Step 5: Verify seat stability and conduct safety checks
Confirming the stability of your rear-facing car seat is the final and most critical step in ensuring your child's safety during travel. These final checks transform your careful installation into a reliable protective system that will keep your little one secure on every journey.
Apply the one-inch stability test by gripping the car seat near the belt path and attempting to move it from side to side and front to back. A properly installed seat should not shift more than one inch in any direction. Press down firmly on the base and rock it to assess its overall stability. If the seat moves excessively or feels loose, you will need to readjust the installation using either the LATCH system or seat belt method.
 Many car seats include built-in indicators that can help you visually confirm a secure installation some have color coded markers that turn green when the seat is correctly positioned.
Beyond physical stability conduct a comprehensive visual inspection of the entire car seat installation. Check that harness straps are smooth and untwisted positioned correctly at or below shoulder level. Verify the chest clip is precisely at armpit level and the straps are snug enough that you cannot pinch excess material.
![]() Confirm that all attachment points whether LATCH connectors or seat belts are fully engaged and locked according to manufacturer specifications.
Confirm that all attachment points whether LATCH connectors or seat belts are fully engaged and locked according to manufacturer specifications.
Pro Tip: Consider having your installation professionally checked by a certified child passenger safety technician who can provide an expert assessment and catch any potential installation errors.
With these thorough safety checks complete you can now confidently travel knowing your child is securely protected in their properly installed rear-facing car seat.
Ensure Your Child's Safety with Expert Car Seat Guidance
Installing a rear-facing car seat properly is a challenge that every parent and caregiver faces with the peace of mind of their child's safety at stake. You want to avoid any loose installation, incorrect harness adjustments, or unsafe recline angles mentioned in the article. These are common pain points that can cause worry and frustration despite your best efforts. The detailed steps on securing the seat with the LATCH system or seat belt, adjusting the harness snugly, and confirming stability highlight how precise and careful this process must be.
At Fits for Years Seats, we understand these concerns deeply. Our site offers a wealth of research-based, personalized advice tailored to your child’s age and your vehicle model. Whether you need step-by-step installation tips, expert product comparisons, or ergonomic considerations for long-term comfort and safety, our platform supports you at every stage of your car seat journey. Don't leave your child's safety to chance. Explore our comprehensive buying guides, understand safety standards, and get the confidence that your rear-facing seat installation is done right.
Take action now to protect your child on every ride by visiting Fits for Years Seats. Your child’s secure travel starts with informed choices and precise installation—begin your journey with us today.
Frequently Asked Questions
How do I assess if my vehicle is compatible with a rear-facing car seat?
To assess your vehicle's compatibility, locate your vehicle owner's manual and the car seat manufacturer’s instruction manual. These documents will provide specific information about car seat anchor points and compatible installation methods for your vehicle.
What materials do I need for rear-facing car seat installation?
You will need several materials for installation, including the car seat manufacturer’s manual, the vehicle owner's manual, a measuring tape, a flashlight, and a towel or firm pool noodle for angle adjustments. Gather these items to ensure you have everything you need before starting installation.
How can I position the rear-facing car seat correctly?
Position the rear-facing car seat according to the manufacturer’s guidelines, ensuring the correct recline angle. Use an angle indicator on the car seat or an angle measurement tool to ensure the seat's angle is within the recommended range, preventing an infant's head from falling forward.
What is the difference between using the LATCH system and the seat belt method?
The LATCH system uses lower anchor points in your vehicle for direct attachment of the car seat, while the seat belt method threads the vehicle seat belt through the designated belt path on the car seat. Choose the method that you are most comfortable with and ensure that the installation is secure with minimal movement in both cases.
How can I check if the car seat is secured properly after installation?
After installation, grip the car seat near the belt path and attempt to move it side to side and front to back. If the seat shifts more than one inch in any direction, it needs to be readjusted until securely installed.
What adjustments should I make to the harness for my child’s safety?
Adjust the harness straps so they are at or just below your child's shoulder level, and ensure the chest clip is at armpit level. Conduct a pinch test on the straps: if you can pinch any slack, tighten them until they feel snug against your child.
Related Articles