How to Transition Car Seats Safely: Step-by-Step Guide
By Rafael Ortiz • 4th Nov
Did you know that using the right car seat can reduce the risk of serious injury by up to 71 percent for infants in car crashes? Parents face tough decisions as their children grow and safety guidelines change. Choosing the right seat and installing it correctly is more than a routine task, it is a crucial step to protect your child on every trip. With the right approach, you can make the transition safe, smooth, and stress free.
Quick Summary
| Key Point | Explanation |
|---|---|
| 1. Assess readiness before transitioning seats | Evaluate your child's weight, height, and age against car seat specifications before moving up a category. |
| 2. Understand car seat types and stages | Familiarize yourself with the four primary car seat categories to select the best fit for your child's development. |
| 3. Prepare tools and vehicle before installation | Gather necessary tools and review your vehicle's manual alongside the car seat instructions for optimal installation. |
| 4. Correctly install using specified methods | Utilize either seat belt or LATCH methods, ensuring minimal movement of the car seat after installation. |
| 5. Verify fit and comfort after installation | Conduct thorough checks on the harness fit and child's comfort to ensure safety during travel. |
Step 1: Assess Readiness for the Next Car Seat
Knowing exactly when to transition your child to the next car seat type can feel like solving a complex puzzle. This step helps you confidently evaluate whether your child is ready to move up a seat category based on their age, weight, and height.
According to the Centers for Disease Control and Prevention (CDC), car seat transitions are not just about birthdays but precise physical measurements. You want to look at three critical factors: your child's current weight, height, and the specific recommendations for your current car seat model. Start by checking the manufacturer's guidelines printed directly on your car seat - they will specify the maximum weight and height limits. Some seats have different maximum limits for rear facing versus forward facing positions, so read carefully.
Pro tip: Always err on the side of caution. If your child is close to a weight or height limit, consider keeping them in their current configuration a bit longer. Safety experts like the CDC recommend staying in each car seat stage as long as possible before advancing. A good rule of thumb is to maximize the time in rear facing seats until at least age 2 to 4, then transition slowly and thoughtfully to forward facing configurations.
As you complete this assessment, gather your child's current measurements and your car seat manual. You're now ready to move to the next step of confirming the specific transition requirements for your unique situation.
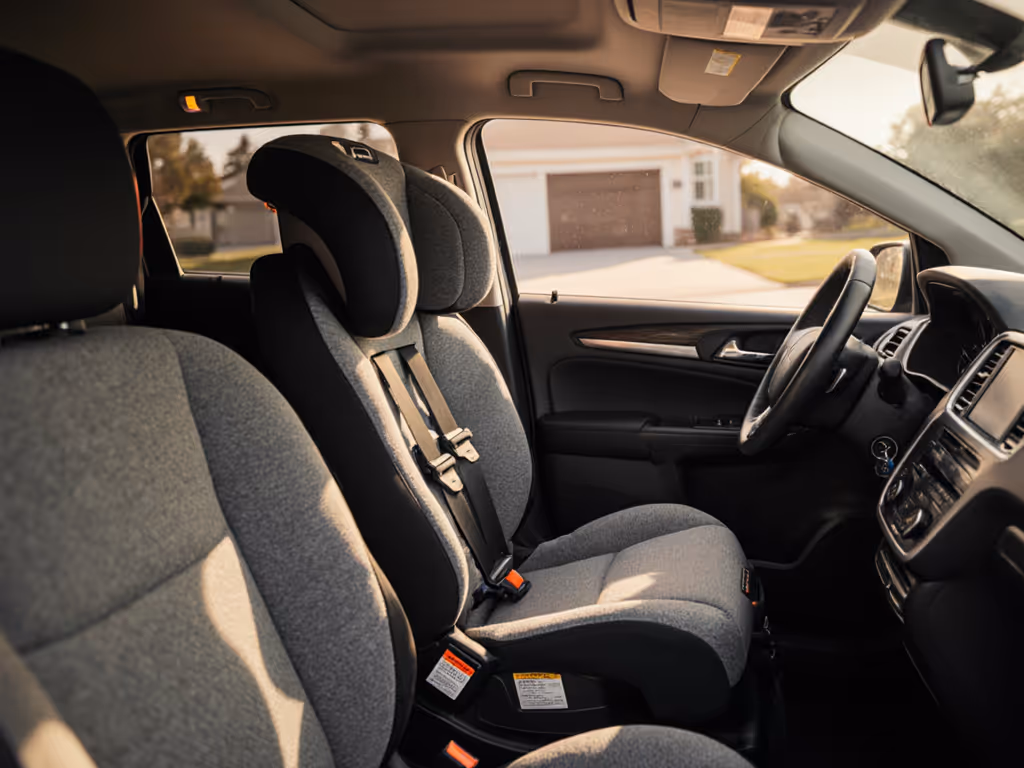
Step 2: Compare and Choose the Appropriate Seat Type
Selecting the right car seat involves more than just picking something off the shelf. This step will walk you through understanding the different car seat types and how to match them precisely with your child's specific physical characteristics.
The National Highway Traffic Safety Administration (NHTSA) breaks down car seats into four primary categories based on a child's age, weight, and height. Rear facing seats are the first stage recommended for infants and young toddlers. These seats provide critical protection by cradling your child's head and neck during potential impact. Forward facing seats come next, typically used for children who have outgrown rear facing configurations. Booster seats bridge the gap between car seats and standard seat belts, ensuring the adult safety belt fits correctly across your child's body. The final transition involves standard seat belts once your child meets specific size requirements.
Pro tip: Don't rush the progression. Each seat type offers unique safety features designed for specific developmental stages. The Saudi Ministry of Health recommends carefully tracking your child's measurements and consulting your specific car seat manufacturer's guidelines. A good approach is to keep your child in each seat configuration as long as possible within the recommended weight and height limits. This strategy maximizes safety and provides the most comprehensive protection during different growth stages.
As you complete this comparison, you will have a clear understanding of which seat type matches your child's current physical development.
 Your next step will involve precise measurements and verifying compatibility with your specific vehicle model.
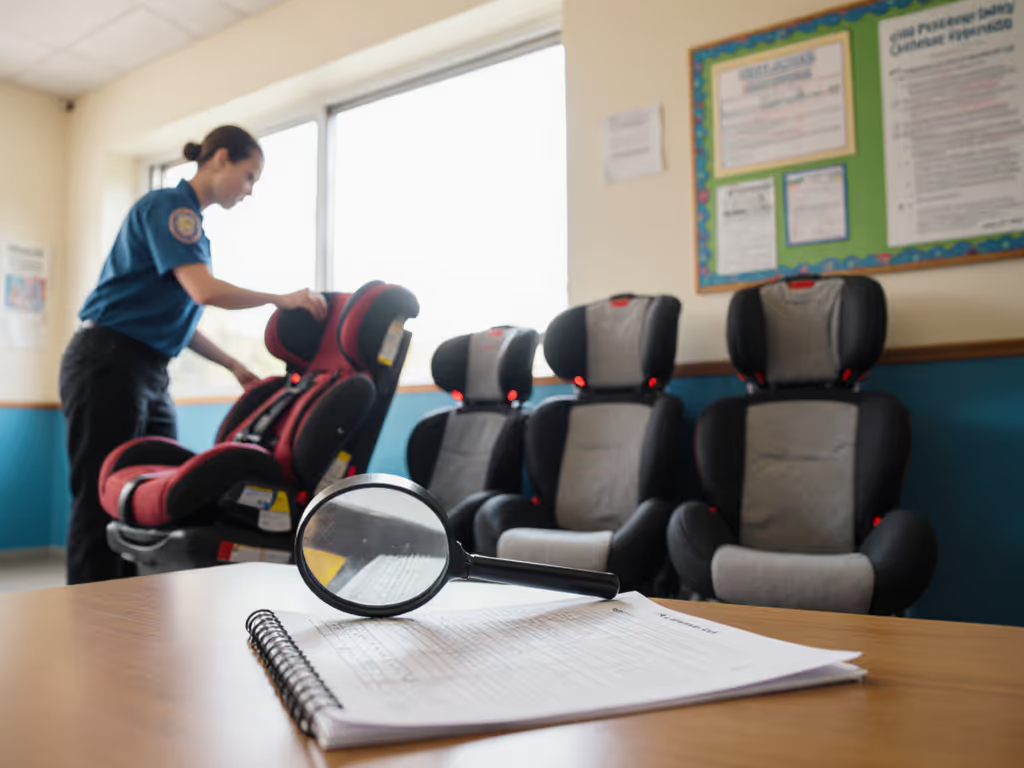
Step 3: Prepare the Vehicle and Gather Needed Tools
Getting ready to install a car seat requires more than just good intentions. This step is about creating a systematic approach to ensure you have everything needed for a safe and secure installation that protects your most precious cargo.
The National Highway Traffic Safety Administration (NHTSA) recommends starting with two critical resources your vehicle owner's manual and the car seat manufacturer's installation instructions. These documents are your roadmap to understanding the specific installation requirements for your unique vehicle and car seat combination. Gather essential tools before you begin such as a tape measure for checking seat dimensions a flashlight to illuminate attachment points and potentially a rolled towel or pool noodle to help achieve the correct seat angle. Most installations will require you to understand two primary attachment methods lower anchors or seat belt connections depending on your vehicle and car seat model.
Pro tip: The Saudi Ministry of Health strongly advises trying a car seat installation before finalizing your purchase. This means bringing the seat to your vehicle and doing a test fit to verify compatibility. Check that the seat does not move more than one inch in any direction when firmly pressed. A properly installed seat should feel solid and stable without wiggling or shifting.
 Remember that different vehicles have unique configurations so what works perfectly in one car might require adjustment in another.
As you complete this preparation phase you will have a clear understanding of your installation requirements and the tools necessary to complete a safe and secure car seat setup. Your next step involves the actual physical installation process where precision and attention to detail are key.
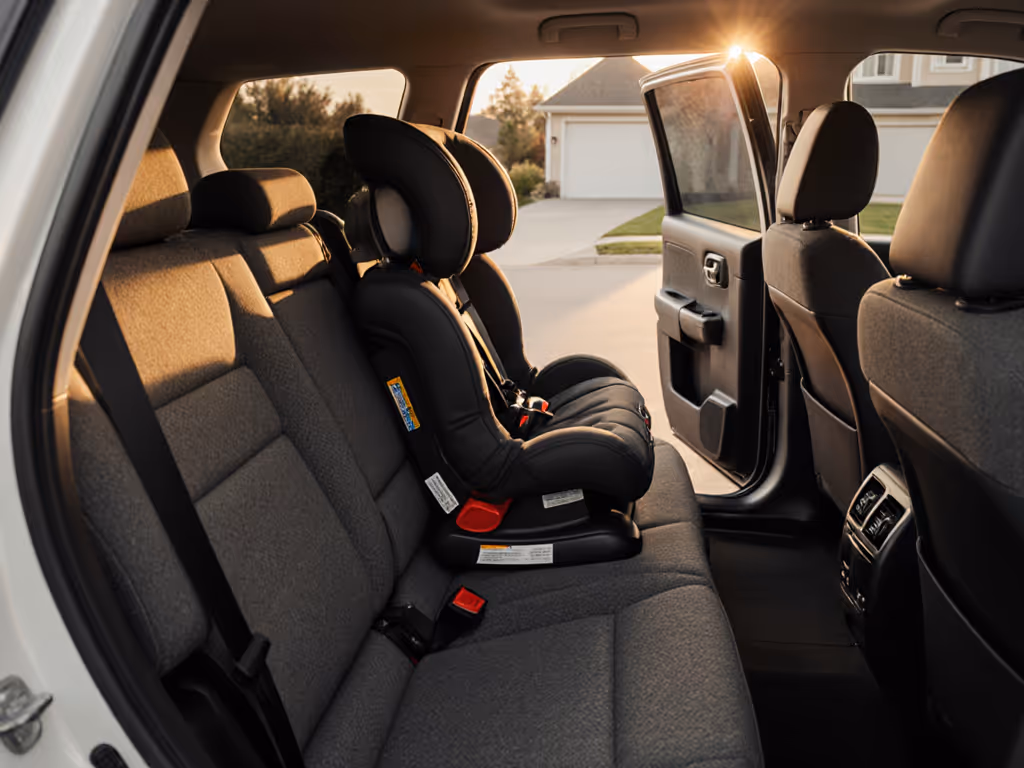
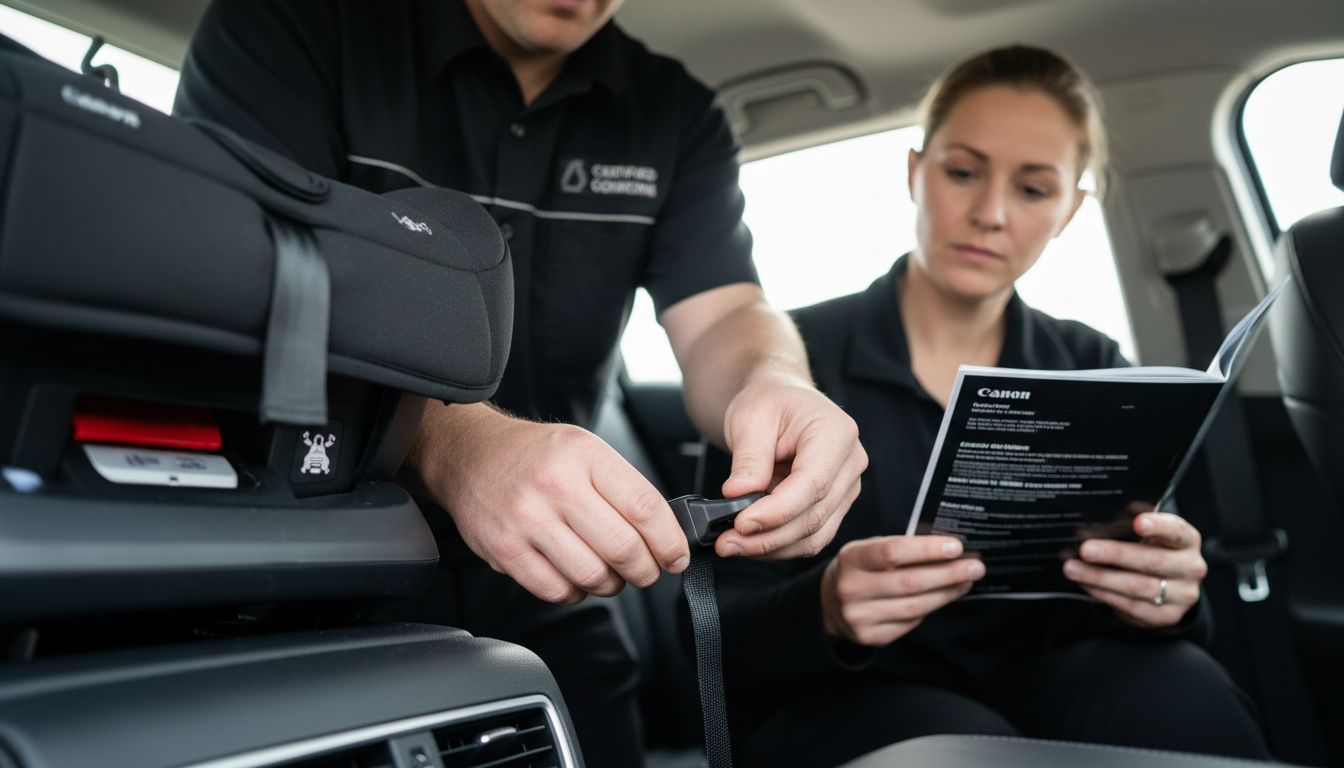
Step 4: Install the New Car Seat Correctly
Car seat installation might seem intimidating but with the right approach you can ensure your child's safety with confidence. This step breaks down the process into clear actionable instructions that will help you secure the seat properly.
According to the National Highway Traffic Safety Administration (NHTSA), you have two primary installation methods the seat belt method and the LATCH (Lower Anchors and Tethers for Children) system. If using seat belts first thread the belt through the designated car seat path exactly as specified in the manufacturer's instructions. Pull the seat belt tight to eliminate any slack while ensuring the car seat does not move more than one inch in any direction. When using the LATCH system locate the lower anchors in your vehicle typically found where the seat cushions meet. Connect the car seat's attachment hooks directly to these anchors ensuring a secure and tight connection. The Centers for Disease Control and Prevention (CDC) emphasizes that regardless of method the key is achieving minimal movement less than one inch side to side or front to back at the seat base.
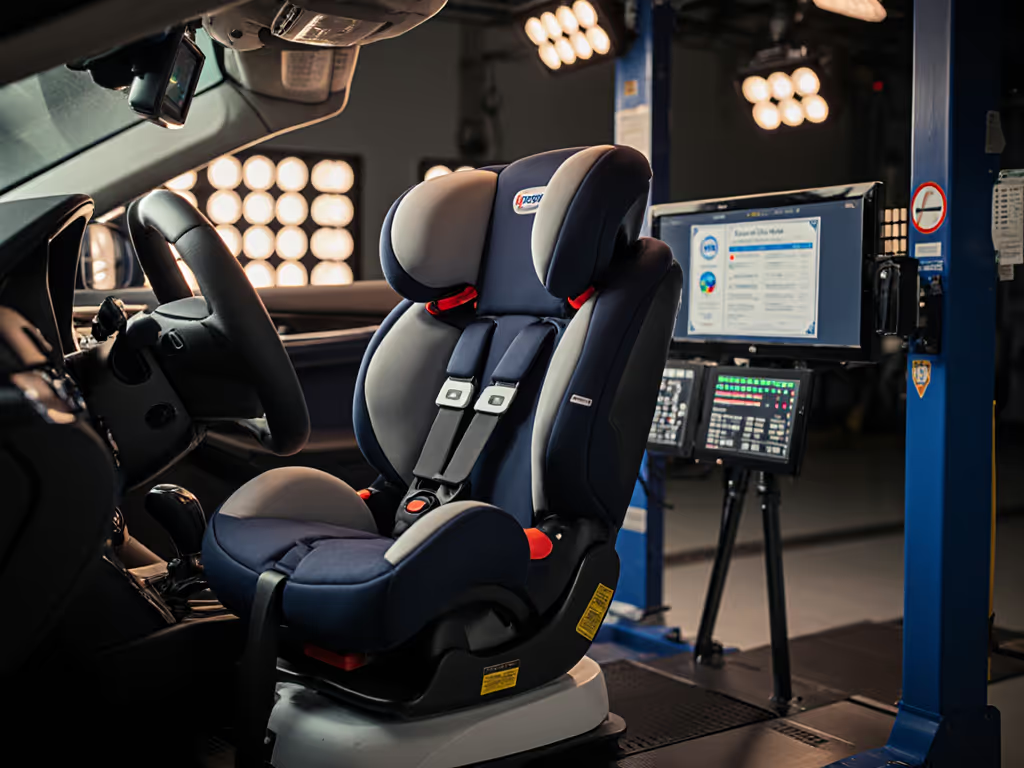
Pro tip: Always do a thorough installation check after initially securing the seat. Apply firm pressure to the seat and try to move it. If it shifts more than one inch at the base or seems loose you need to readjust. Many local fire stations and police departments offer free car seat installation checks by certified technicians who can verify your installation meets safety standards. These professionals can spot potential issues you might miss and provide personalized guidance specific to your vehicle and car seat model.
With the seat now securely installed you are ready to move forward to the final steps of ensuring your child's comfort and safety in their new car seat configuration.
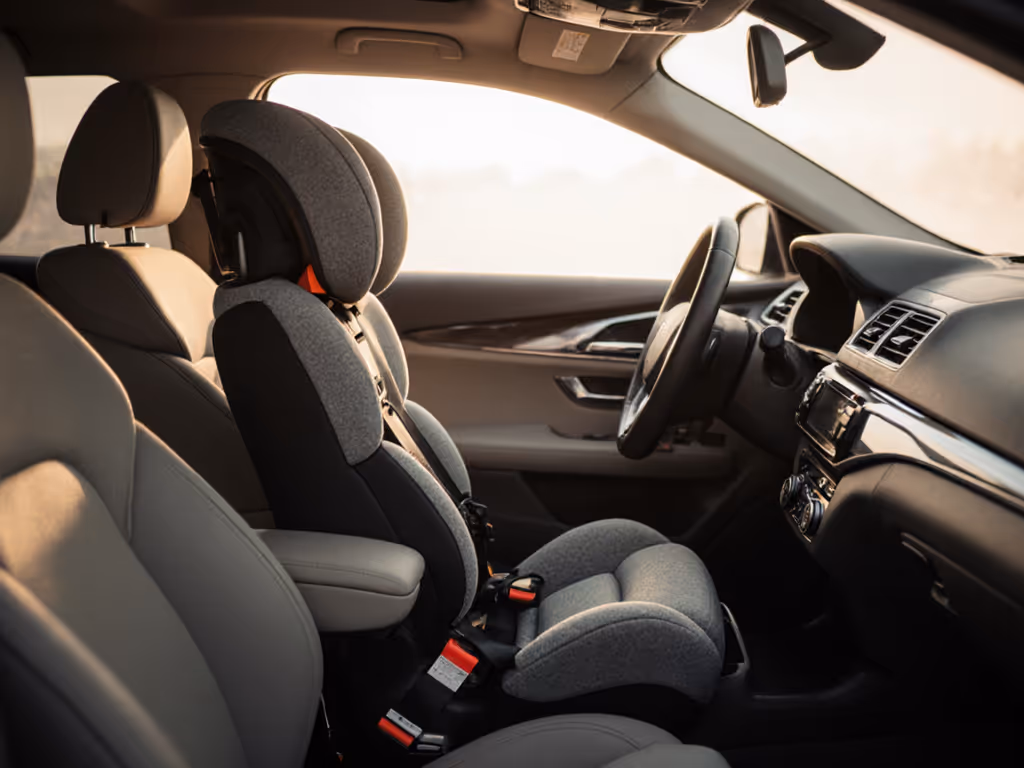
Step 5: Verify Safety and Comfort After Installing
Now that the car seat is installed, your critical final step involves a comprehensive safety and comfort assessment. This verification process ensures your child will be protected and comfortable during every journey.
The National Highway Traffic Safety Administration (NHTSA) recommends a detailed multi point check to confirm proper installation. First test the car seat's stability by firmly pressing down and attempting to move it side to side or front to back. The seat should not shift more than one inch in any direction. Next focus on the harness system. When your child is seated, the harness straps should lie flat against their body without any twists. The chest clip is crucial and should be positioned precisely at armpit level. This placement helps distribute potential impact forces across the strongest parts of your child's body and prevents the straps from sliding off their shoulders.
Pro tip: Perform a comfort and fit test with your child actually seated in the car seat. Check that they have enough room to move slightly but are not swimming in excess space. The Centers for Disease Control and Prevention (CDC) emphasizes that a properly fitted harness should allow you to place only one finger between the strap and your child's collarbone. If you can pinch excess fabric at the shoulder, the harness is too loose. Consider seasonal clothing adjustments thin summer shirts versus winter coats can significantly impact harness fit and safety.
With this final verification complete you have successfully transitioned your child to their new car seat configuration ensuring maximum safety and comfort for your future travels.
Make Your Child's Car Seat Transition Smooth and Safe
Transitioning your child to the next car seat involves more than just knowing the right age or size. The real challenge lies in understanding complex safety standards, mastering precise installation steps, and ensuring comfort and security throughout every stage of growth. If you feel overwhelmed by questions about weight limits, harness fittings, or the best seat type for your vehicle, you are not alone. Many parents seek clear, trustworthy guidance that goes beyond quick fixes.
At Fits for Years Seats, we specialize in helping parents and caregivers like you confidently navigate every step of car seat transitions. Our expert advice, detailed installation tutorials, and tailored seat comparisons put safety first. Whether you are assessing your child's readiness, preparing to install a new seat, or verifying harness fits, our research-driven resources provide practical solutions today. Don't leave your child's safety to chance—explore our comprehensive car seat safety guides now and take the next step in protecting your little one on every journey.
Frequently Asked Questions
When should I transition my child to the next car seat?
To determine when to transition your child to the next car seat, assess their weight, height, and age according to your current car seat's guidelines. Check the manufacturer’s recommendations and consider keeping your child in their current seat until they are close to the maximum limits before making the switch.
What factors should I consider when choosing the appropriate car seat?
When choosing a new car seat, consider your child’s age, weight, and height, along with the recommended car seat types for their size. Make a list of your child's measurements and compare them to the safety specifications of various car seat categories to find the best match.
How can I prepare my vehicle for a new car seat installation?
To prepare your vehicle for a new car seat installation, gather your vehicle owner's manual and the car seat installation instructions. Ensure you have essential tools like a tape measure and a flashlight, and consider testing the new car seat for fit before purchase to ensure compatibility.
What are the steps to install a car seat correctly?
To install a car seat correctly, choose between the seat belt method and the LATCH system, following your car seat's installation instructions. Ensure the seat does not move more than one inch in any direction by applying firm pressure after installation to check stability.
How do I verify the safety and comfort of the installed car seat?
To verify safety and comfort, test the car seat's stability and check the harness system while your child is seated. Adjust the harness so that it lies flat against their body, allowing only one finger to fit between the strap and their collarbone for a snug but comfortable fit.
What should I do if the car seat seems loose after installation?
If the car seat seems loose after installation, recheck the installation method used—whether it's the seat belt or LATCH system. Readjust as necessary, ensuring that the car seat is secure and does not shift more than one inch in any direction when pushed.
Related Articles