How to Fit Car Seat to Child for Maximum Safety
By Nandita Rao • 18th Oct
Did you know that correctly installed child car seats can reduce injury risk by up to 80 percent in a crash? Every parent wants to keep their child safe on the road, yet many miss important details that make all the difference. By understanding the latest safety standards and your child's unique needs, you can confidently choose, install, and adjust a car seat that offers real peace of mind every time you buckle up.
Quick Summary
| Key Point | Explanation |
|---|---|
| 1. Select car seat based on measurements | Match the car seat to your child's height, weight, and age for maximum safety. |
| 2. Prioritize rear-facing seats for infants | Infants under one year must use rear-facing seats to significantly reduce injury risks. |
| 3. Use back seat for installation | Always install the car seat in the back seat for enhanced protection during travels. |
| 4. Adjust harness properly for safety | Ensure harness is snug and positioned correctly, allowing minimal movement during rides. |
| 5. Regularly verify seat fit and condition | Check car seat fit, condition, and harness tightness regularly to maintain safety standards. |
Step 1: Assess your child's size and age requirements
Choosing the right car seat isn't just about following a checklist. It's about understanding your child's unique physical development and matching their safety needs precisely.
The National Highway Traffic Safety Administration (NHTSA) provides crystal clear guidance on car seat progression. Generally, you want to match your child's car seat to their age, weight, and height. But here's the smart parent approach: always prioritize safety over arbitrary age milestones.
Start with your child's current measurements. Pull out a reliable measuring tape and record their exact height and weight. These numbers are your roadmap to selecting the perfect car seat. Infants under one year should always ride in a rear-facing seat. Pediatric safety research shows this position dramatically reduces injury risk during potential collisions.
The World Health Organization suggests child seats can reduce injury risk by 50 to 80 percent when properly installed. That statistic alone should motivate every parent to get this right.
Key Progression Guidelines
- Newborn to 1 year: Rear-facing infant seat
- 1-4 years: Convertible rear-facing seat (as long as possible)
- 4-7 years: Forward-facing harness seat
- 7-12 years: Booster seat
- 12+ years: Vehicle seat belt
Pro Tip: Never rush the transition. Keep your child in each seat type until they max out the height or weight recommendations.
Remember that regulations like the R129/i-Size standard emphasize height and weight over strict age requirements. Your child's physical development matters more than their birthday. Some kids grow faster or slower than average charts suggest.
Your next step is selecting a seat that matches these measurements perfectly. Get ready to become a car seat safety expert.
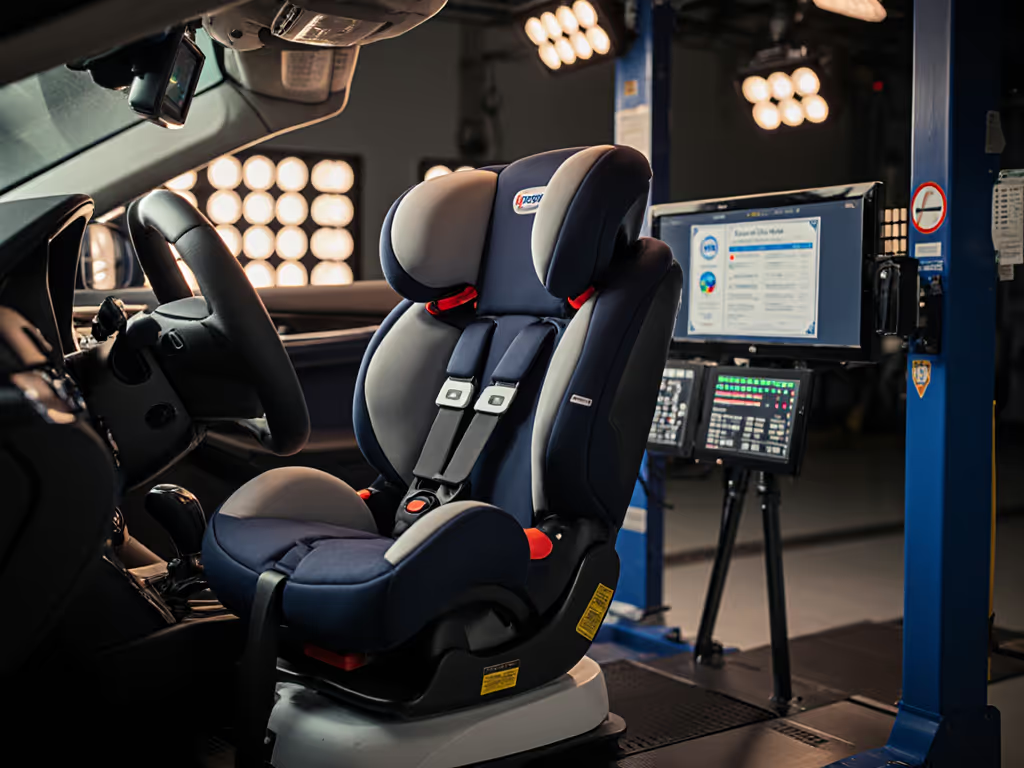
Step 2: Choose the correct car seat for your child
Now that you understand your child's measurements, it's time to find the perfect car seat that transforms safety from an abstract concept into a tangible shield of protection. This step is about matching scientific standards with your child's unique physical characteristics.
The European i-Size (R129) standard offers an excellent framework for selecting the right seat. Unlike older standards that focused primarily on weight, this modern approach prioritizes your child's height and provides enhanced side-impact protection. Think of it as a custom safety suit designed specifically for your little passenger.
When shopping, look beyond flashy colors and marketing claims. Focus on three critical factors: height compatibility, installation method, and safety certifications. The ISOFIX mounting system is a game-changer because it dramatically reduces the risk of incorrect installation. Many parents accidentally install seats incorrectly, but ISOFIX provides a more foolproof connection between the seat and vehicle.
Seat Selection Checklist
- Matches child's current height precisely
- Compatible with your specific vehicle model
- Includes ISOFIX or secure mounting options
- Meets current safety certifications (R129/i-Size preferred)
- Offers adjustable features for growth
Pro Tip: Bring your vehicle's manual when purchasing to ensure perfect seat compatibility.
Consider your child's growth trajectory. A quality car seat should accommodate your child comfortably for at least 12-18 months. Some convertible models grow with your child, transitioning between rear-facing and forward-facing configurations.
Your mission is finding that perfect balance of safety, comfort, and adaptability. Get ready to become your child's personal safety engineer.
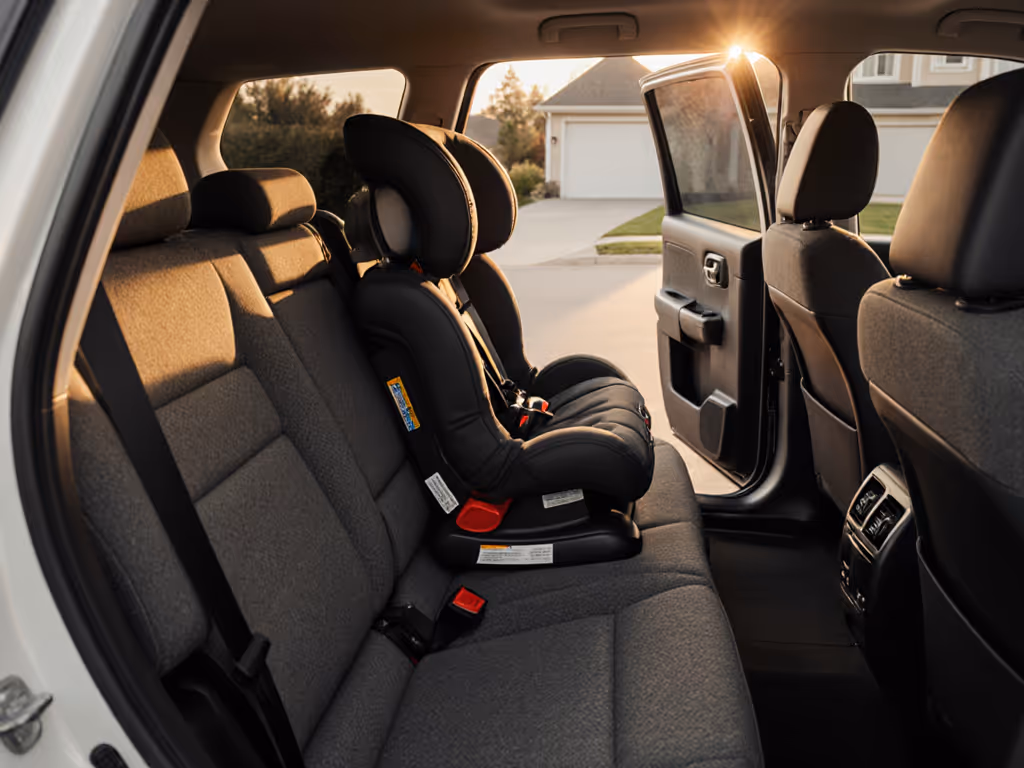
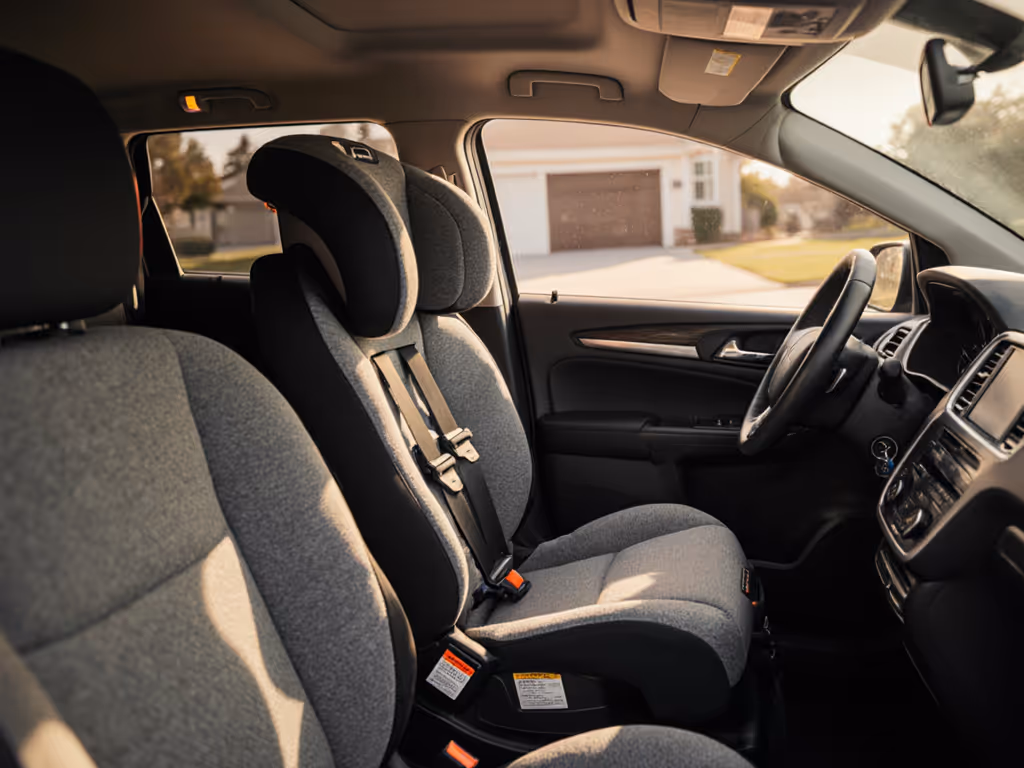
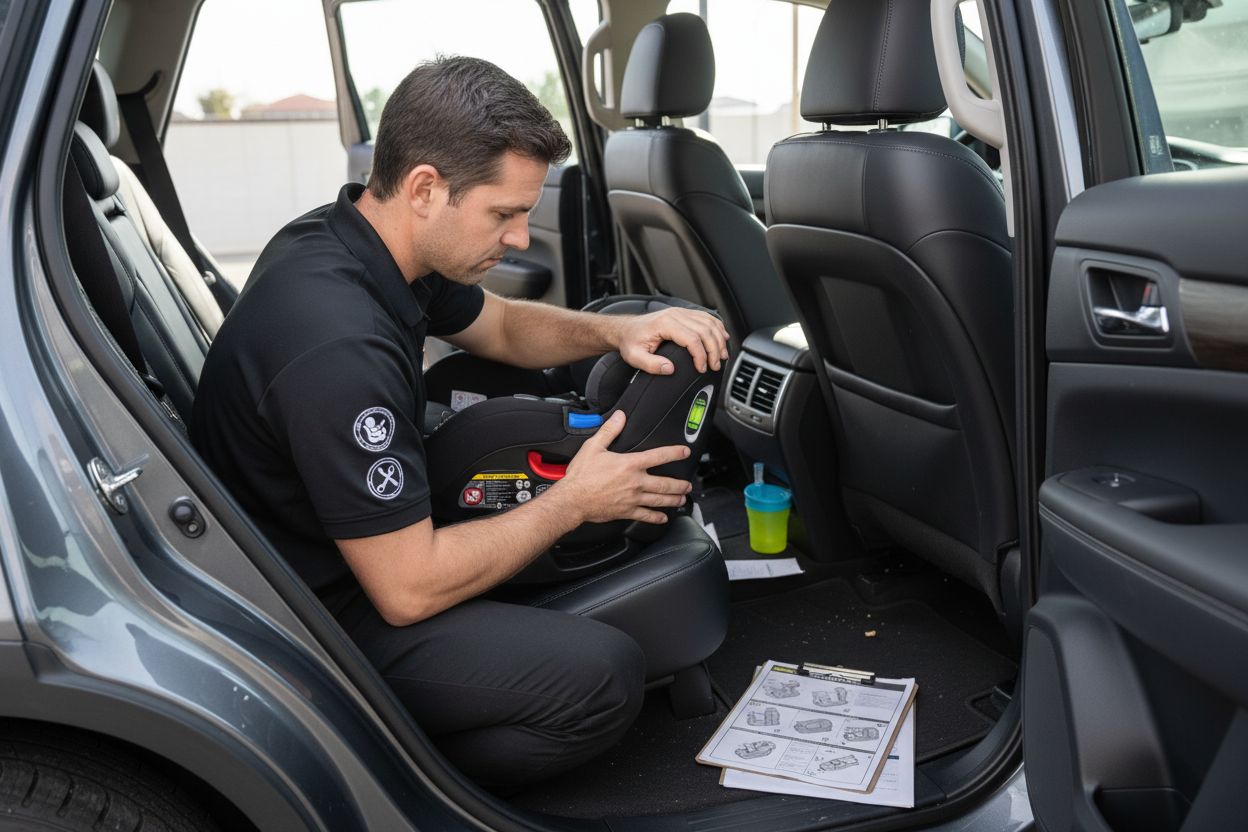
Step 3: Position the car seat in your vehicle correctly
You've selected the perfect car seat. Now comes the critical task of installing it with precision that could save your child's life. Proper positioning is more than just finding an open spot in the car. It's about creating a safety zone that minimizes risk during every single journey.
The American Academy of Pediatrics offers clear guidance: always install the car seat in the back seat. While it might seem convenient to place the seat in the front, back seat locations provide significantly more protection. Your goal is finding the most secure spot where the seat can be firmly anchored using either the LATCH system or seat belt method.
Modern vehicles feature the ISOFIX system standard since 2013. This international system provides standardized lower anchor points that make installation faster and dramatically reduce the chances of incorrect setup. Think of ISOFIX as a universal language between your car and car seat that speaks safety.
Installation Best Practices
- Choose the back seat location with most secure installation
- Use LATCH anchors if available in your vehicle
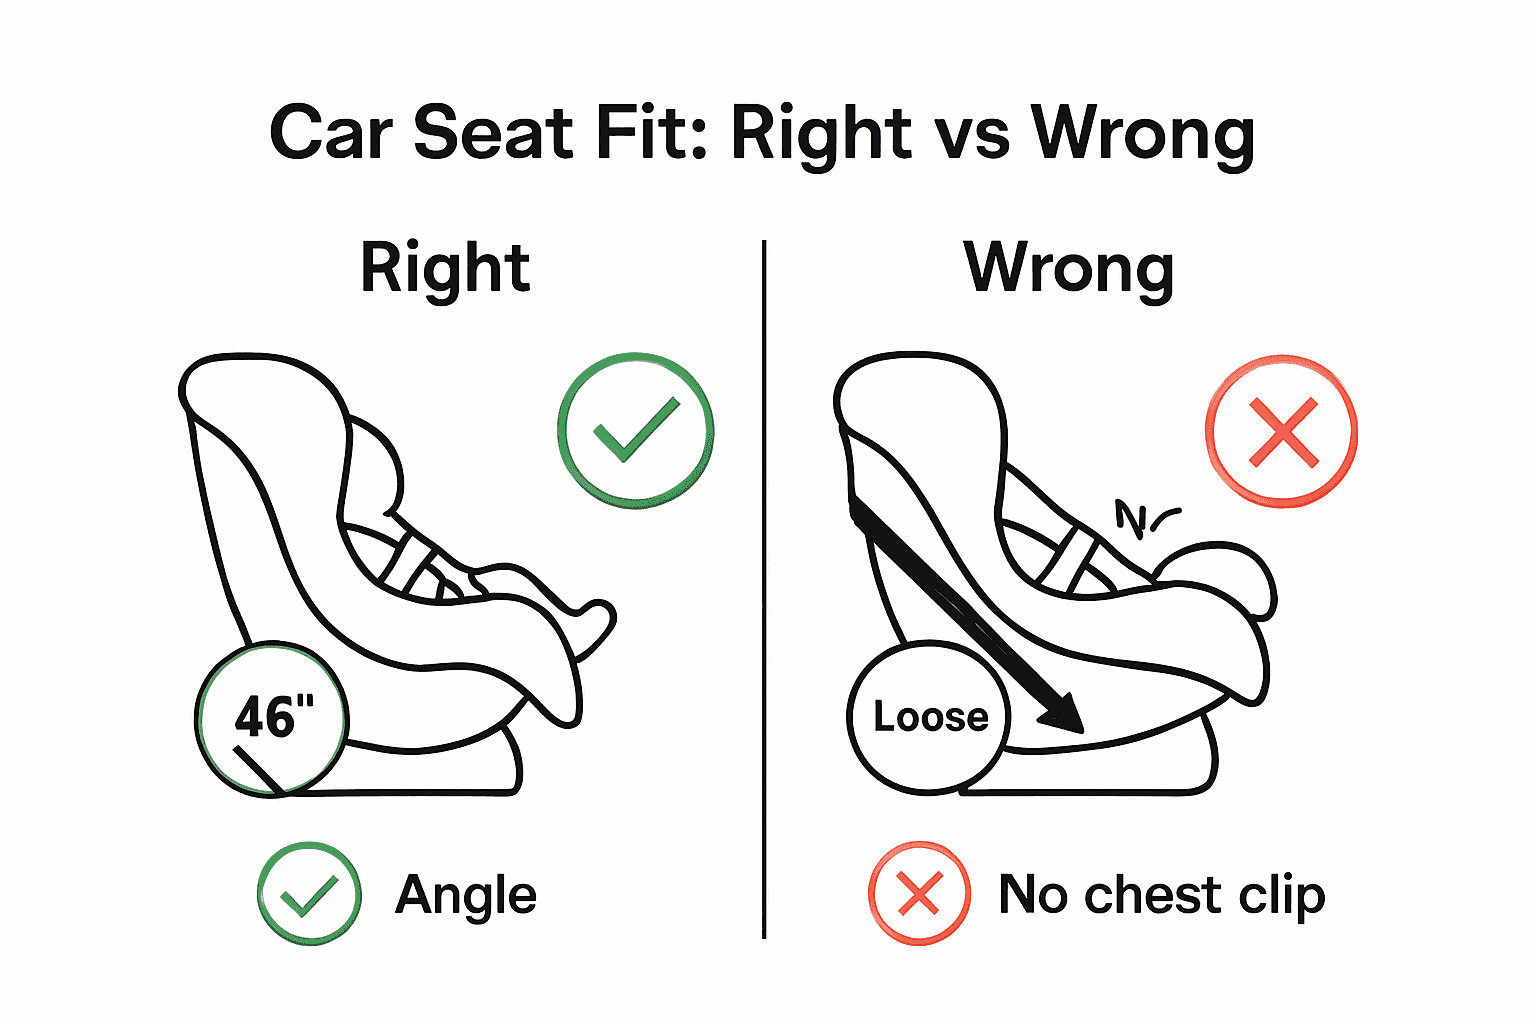
- Check the recline angle between 30 and 45 degrees
- Ensure no more than one inch of movement at the seat base
- Confirm seat is tight and stable after installation
Pro Tip: Always read both your vehicle manual and car seat instructions. Each combination can have unique requirements.
Recline angle is another crucial factor. Most infant and convertible seats require a specific tilt typically between 30 and 45 degrees. This angle prevents a newborn's head from flopping forward and ensures proper airway protection. Many modern seats include built-in angle indicators to help you achieve the perfect position.
Your next mission is performing a wiggle test. After installation, grab the car seat and try to move it. If it shifts more than an inch in any direction, you need to recheck and tighten the installation. Precision matters.
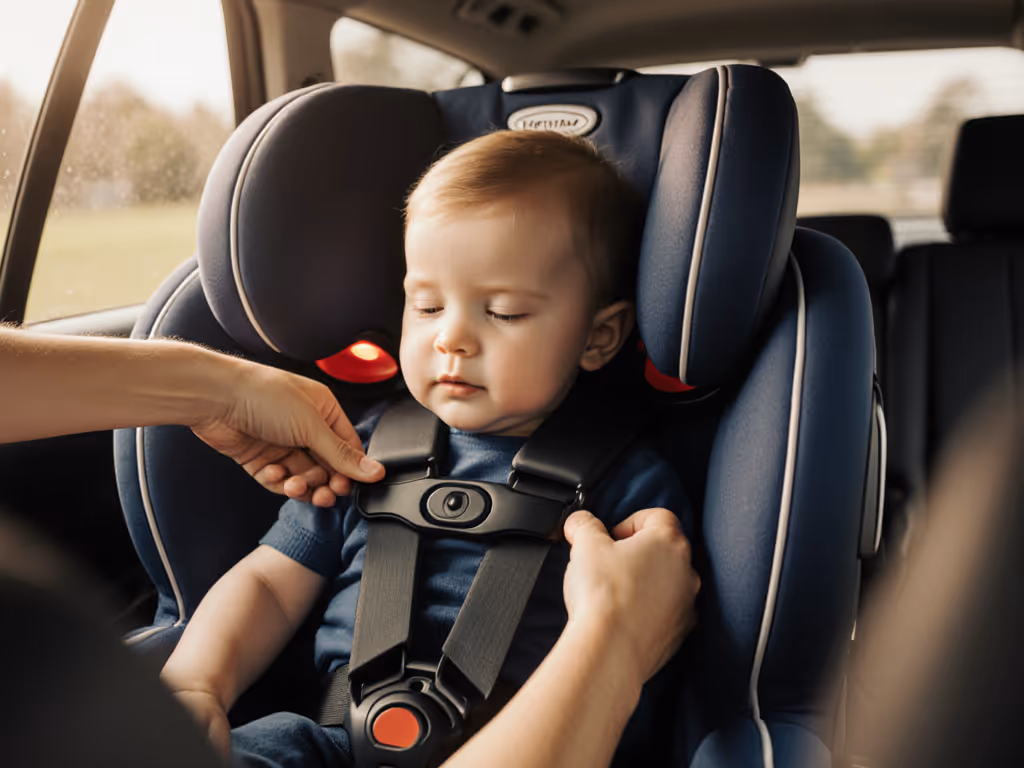
Step 4: Secure your child in the seat using proper harnessing
With the car seat installed, you're now entering the precision phase of child safety. Proper harnessing isn't just about strapping your child in. It's about creating a protective cocoon that minimizes movement during unexpected stops or potential collisions.
Experts at UNC Health emphasize the critical nuances of harness placement. For rear-facing seats, straps should sit at or just below your child's shoulder level. When your child transitions to forward-facing seats, those same straps move to sit at or slightly above shoulder height. This subtle adjustment maintains optimal safety as your child grows.
Start by dressing your child in thin layers. Bulky winter coats can create dangerous gaps between the harness and your child's body. Imagine the harness as a custom safety suit that needs direct contact with your child's body to work effectively.
Harnessing Checklist
- Ensure straps lie flat without twists
- Position chest clip at armpit level
- Check for snug fit you can barely pinch
- Verify no more than two fingers width between straps and chest
- Confirm harness is level and symmetric
Pro Tip: The pinch test is your secret weapon. If you can pinch excess fabric at the shoulder, the harness is too loose.
The Baby Safety Foundation recommends checking the harness tightness before every ride. A properly secured child should not be able to wiggle or slide. When you think the harness is tight enough. Tighten it just a bit more.
Parents often underestimate how secure these straps need to be.
Your next adventure involves mastering the art of the perfect harness. Think of yourself as a safety engineer crafting a personalized protection system for your most precious passenger.
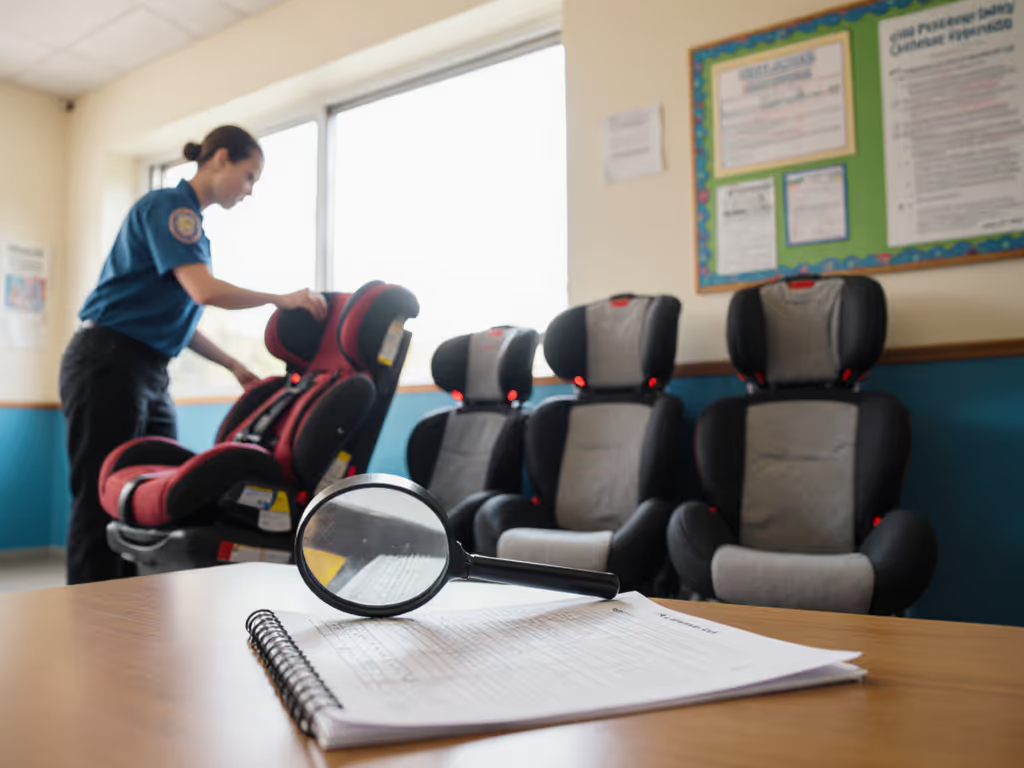
Step 5: Verify the fit and adjust for comfort and safety
Congratulations. You're in the final stage of creating a mobile safety fortress for your child. This verification process is your last line of defense against potential installation errors that could compromise your little one's protection.
The National Highway Traffic Safety Administration (NHTSA) emphasizes the importance of keeping your child in each car seat stage as long as they fit within the manufacturer's height and weight limits. Think of this as a strategic approach to safety that adapts with your child's growth.
Start with the comprehensive fit check. Look for signs of potential issues like excessive movement or improper positioning. The pinch test is your primary diagnostic tool. According to PlanHappy safety guidelines, if you can pinch excess fabric at the shoulder straps, the harness needs immediate tightening. Your goal is a snug fit that feels secure but not restrictive.
Fit Verification Essentials
- Check harness strap tension
- Verify no more than one inch of seat movement
- Inspect for any visible wear or damage
- Confirm chest clip is at armpit level
- Ensure seat is level in the vehicle
Pro Tip: Register your car seat with the manufacturer to receive critical recall notifications.
Environmental factors matter more than you might realize. Hot climates can degrade car seat materials faster than you'd expect. Regularly inspect the seat for signs of sun damage, cracking, or structural weakness. Seats have expiration dates for a reason protective materials break down over time.
Remember that comfort and safety go hand in hand. A child who feels uncomfortable will fidget more, potentially compromising their safety.
 Pay attention to your child's body language and make small adjustments to improve their experience.
You're now a certified car seat safety expert ready to protect your most precious cargo.
Take the Guesswork Out of Car Seat Safety with Expert Guidance
Feeling overwhelmed about how to perfectly fit your child’s car seat for maximum protection? You are not alone. Many parents face anxiety over matching car seat choices with their child's changing size, vehicle model, and evolving safety standards. The article has shown you how crucial it is to get elements like harness fit, seat positioning, and choosing the right stage of seat exactly right. No one wants to risk their child’s safety due to a small oversight or vague advice.
Stop making hard decisions alone. At Fits for Years Seats, you will find research-driven tips and personalized recommendations designed for your unique situation. From practical installation guides to in-depth comparisons focused on comfort, longevity, and compliance, every resource on our site is fine-tuned for busy parents who demand peace of mind. Empower yourself with the science-backed support you need and make the right move for your child’s safety today. Visit Fits for Years Seats and start your journey to confident car seat mastery now.
Frequently Asked Questions
How do I know if my child's car seat is the right fit for their size?
To ensure your child's car seat is the right fit, measure their height and weight and compare them to the car seat's specifications. Adjust the harness and seat position as your child grows to maintain safety and comfort.
What is the proper way to install a car seat for maximum safety?
Install the car seat in the back seat of your vehicle using the LATCH system or the seat belt method. Make sure it’s securely anchored and can’t move more than one inch at the base after installation.
How should I properly secure my child in the car seat?
Harness your child with straps that lie flat and are snug enough that you can barely pinch the fabric at the shoulder. Position the chest clip at armpit level to ensure that the harness provides effective protection during travel.
What should I check before every car ride to ensure my child’s safety in the seat?
Regularly verify the harness strap tightness, ensure no more than one inch of movement in the seat, and inspect for any signs of wear or damage. Adjust the harness for comfort and make sure the chest clip remains at the correct height.
When is it time to transition my child to the next stage of car seat?
Wait to transition your child until they exceed the height or weight limits of their current car seat, which will be specified by the manufacturer. Make this change only after confirming that your child is appropriately sized for the new seat type.
How can I ensure that my child’s car seat remains safe over time?
Periodically inspect the car seat for signs of sun damage, cracking, or structural weakness. Register the car seat for recall notifications, and replace it if you notice any degradation in its materials within its expiration period.
Related Articles