Car Seat Polymer Degradation: Visual Inspection Tips
By Maya Chen • 27th Feb
Car seat material science and plastic polymer degradation are critical but often overlooked aspects of child safety. Every time you click your child into a convertible seat or extended-use booster, you're relying on polymers (the plastics, rubbers, and vinyl that form the seat's shell, harness system, and interior padding) to perform their intended function safely. But these materials don't last forever, and knowing how to spot the signs of degradation can mean the difference between a seat that installs cleanly year after year and one that leaves you wrestling with a shell that's become brittle or a harness that's begun to fray.
I learned this lesson the hard way one rainy Saturday when I tested three models across our compact hatchback. The seat that made it through a second reinstall without visible stress cracks or belt-path complications became the keeper, a real-world reminder that durability in your exact vehicle beats any marketing claim.
Why Polymer Degradation Matters for Car Seats
Unlike a faded bumper, degradation in car-seat polymers directly affects how the seat protects your child. When plastics and rubbers degrade, they lose mechanical strength and flexibility[1][5]. A seat shell that cracks under modest side-impact stress, or harness webbing that becomes brittle and prone to tearing, no longer meets the performance standards it was designed to deliver[1].
The primary culprits accelerating this breakdown in car seats are:
- UV radiation from sunlight: The worst offender. Prolonged exposure to ultraviolet light triggers photodegradation, breaking down polymer chains and causing discoloration, brittleness, and cracking[5].
- Heat exposure: Thermal degradation occurs when polymers are subjected to elevated temperatures (especially inside a parked car in direct sun)[7]. This increases molecular motion and accelerates chain breakage.
- Air pollution and chemical exposure: Pollutants from vehicle exhaust, industrial air pollution, and road salt can chemically attack polymer bonds[1][2].
- Humidity and moisture: Extended damp conditions can promote hydrolytic degradation and weaken adhesive bonds in layered seat structures[7].
The good news: By learning to recognize early signs of degradation, you can make informed decisions about whether a seat is still safe to use, whether it needs to be stored differently, or whether replacement is warranted.
Step-by-Step Visual Inspection Protocol
I approach car-seat inspections the way I approach installs: measure twice, install once. Before you assume a seat is still roadworthy, run through this systematic check.
Step 1: Document the Seat's History and Storage
Start with metadata. Note the manufacturing date (printed on the seat's compliance label), purchase date, and whether the seat has been exposed to prolonged sun or heat. If you're unsure how expiration dates work or where to find them, see our car seat expiration guide.
- Months in direct sunlight: Count the years the seat spent primarily in a sunny car, nursery window, or storage shed.
- Climate zone: Seats in warm, high-UV climates (e.g., southern U.S., equatorial regions) age faster than those in temperate zones[5].
- Storage conditions: Was it stored in an attic, garage, or climate-controlled room? Heat and UV penetrate even opaque car covers.
Repeatability note: Document this information in a simple spreadsheet or notes app. It helps you predict degradation trajectory across multiple vehicles and caregivers.
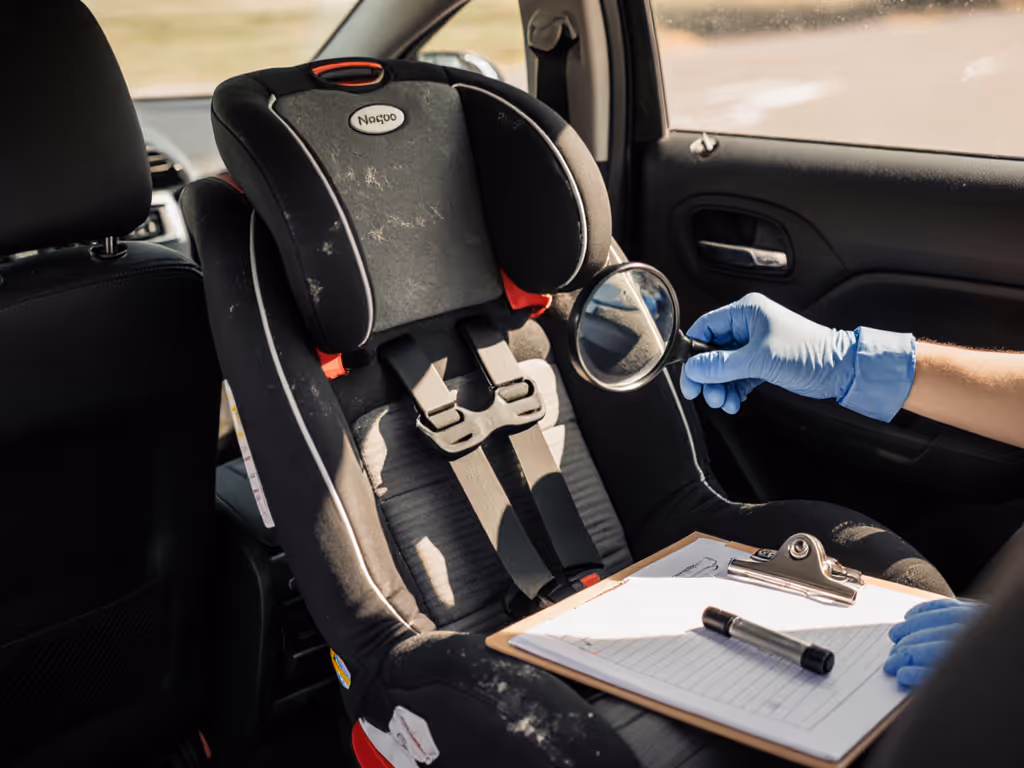
Step 2: Inspect the Exterior Shell for Visual Degradation
Examine the seat's outer plastic shell for the following signs[1][4][5]:
- Fading or discoloration: Compare the underside (less sun-exposed) to the top. Significant color shift suggests photodegradation.
- Crazing or fine-line cracking: Look closely at curved edges and high-stress areas (around the base, under the harness slots). Crazing often appears as a spider-web of micro-cracks.
- Loss of gloss: Degraded polymers appear dull and chalky compared to new plastic[1].
- Brittleness test (manual, non-destructive): Gently flex a non-load-bearing edge of the shell (not the base or harness anchor points). If the plastic feels overly stiff or cracks under mild pressure, degradation is advanced.
Measurement checklist:
- Use a calibrated light source (smartphone light works) at a low angle to highlight micro-cracks.
- Photograph problem areas from two angles for your records.
- If cracking is visible to the naked eye without magnification, flag the seat for closer inspection or replacement consideration. For a deeper look at how sun exposure ages plastics and fabrics, review our UV fading timeline with storage and shade strategies.
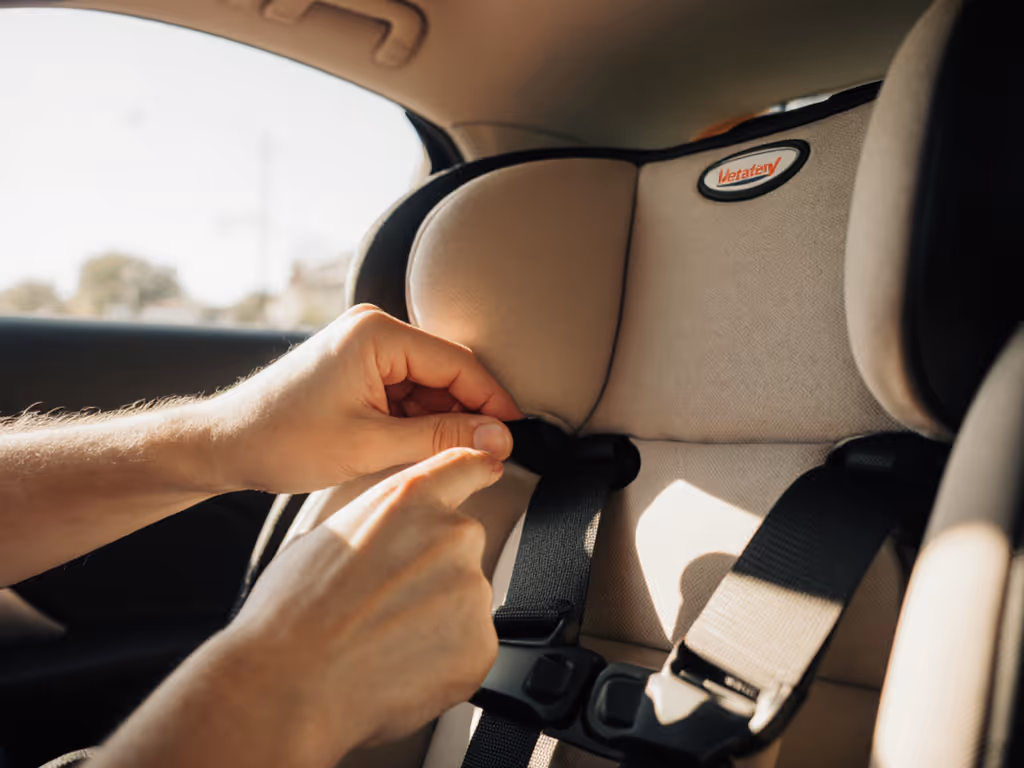
Step 3: Examine Harness Webbing and Stitching
Harness systems are high-stress polymer components and among the first to show thermal and UV damage.
- Webbing discoloration: Fading beyond normal is a sign of photodegradation[5].
- Fraying or loose weave: Run your fingers along the harness edges. Loose fibers or unraveling webbing indicate polymer breakdown.
- Stitching integrity: Check seams where harness straps attach to the seat. If thread is cracked or stitches are pulling apart, the webbing has likely lost flexibility[1].
- Buckle and adjuster function: Test the chest clip and harness-height adjuster (if applicable). Sticky or difficult operation can signal plastic creep from heat exposure[7].
Quick field test: Gentle tension test: pull the harness straps moderately (not with full force). If they tear, snap, or shred rather than bend, replacement is needed.
Step 4: Assess Padding and Fabric Covers
Interior foam and fabric may show different degradation patterns than the shell.
- Fabric fade or bleaching: Interior fabrics exposed to sunlight through car windows can discolor[5].
- Delamination or separation: If padding is peeling away from the shell, adhesive polymers have degraded[2].
- Odor changes: A sour, off smell can indicate chemical breakdown or mold, both signs the seat's integrity is compromised.
- Stickiness or residue: Interior polymers breaking down sometimes release tacky residue, especially in high-heat vehicles[7].
Documentation: If you observe odor or delamination, photograph and note the extent. This informs whether the seat is safe for continued use.
Step 5: Check Recline and Structural Joints
The joints and hinge areas of convertible and all-in-one seats are vulnerable to both thermal and mechanical stress.
- Recline lever feel: Does it operate smoothly, or is there grinding, resistance, or sudden snapping? Degraded polymers in the recline mechanism can fail unexpectedly[1].
- Joint gaps: Inspect the base-to-shell seam and any articulation points. Widening gaps suggest structural shift from thermal expansion or material loss.
- Base stability: Place the seat on a flat surface (without installation). Does it wobble? Warping from heat exposure compromises how the seat contacts and locks into your vehicle.
Vehicle-specific note: Compact cars with sloped rear seats are more prone to recline-mechanism stress. If you own a sedan or hatchback with aggressive seat angles, check the recline mechanism every 2-3 years.
Interpreting Your Findings
Once you've completed the inspection, categorize the seat's condition:
Minimal degradation (safe to continue): Light fading, no visible cracks, harness functions smoothly, structural joints intact. Recommendation: Continue use; consider storing the seat in a shaded location.
Moderate degradation (use with caution): Visible crazing, minor webbing discoloration, slightly stiff recline, delamination in non-structural padding. Recommendation: Continue use for short trips; avoid prolonged sun exposure. Plan replacement within 12-24 months. Do not pass this seat to another family without disclosure.
Advanced degradation (replace immediately): Visible shell cracks, harness fraying or tearing, delamination affecting the shell-to-frame bond, seized recline mechanism, base warping. Recommendation: Retire the seat. It no longer meets its intended safety performance and should not be used. When you retire a seat, use our expired car seat recycling guide to dispose of it safely and locate take-back programs.
Documentation for Multi-Vehicle and Multi-Caregiver Setups
If a seat moves between vehicles or caregivers, your inspection notes become invaluable.
- Create a seat passport: A simple document noting the seat's age, inspection date, any findings, and recommended storage.
- Share with co-parents or grandparents: Make inspection criteria transparent so everyone applies the same standard.
- Time-to-reinstall baseline: After you perform the inspection, note how long a clean install takes (aim for under 3 minutes if you're using LATCH). If future installs become difficult due to degradation in belt paths or adjuster mechanisms, that's a flag.
Final Actionable Steps
Start with a baseline inspection of your current seat this month. Use the five-step protocol above, photograph any concerns, and date your findings. If you spot advanced degradation, begin your replacement timeline now. Don't wait until the seat fails mid-journey.
For seats you're storing (second vehicle, travel backup, or hand-me-downs waiting for a younger sibling), store them in a cool, dark place (ideally indoors away from direct sun and heat). For step-by-step storage protocols that prevent safety decay, follow our convertible car seat storage guide. A garage beats an attic; a bedroom closet beats a sunroom.
Finally, if you're evaluating a used seat before bringing it into your vehicle, apply this same inspection lens. A seat that installs easily twice and shows minimal polymer stress is one that fits your real life. That practical durability, not a premium label, is what keeps your child safe and your routine running smoothly across the seasons and the miles.
Related Articles