Car Seats for Leg Braces: Fit Measurements
By Maya Chen • 15th Feb
When your child is fitted with car seats for orthopedic braces (whether a knee brace, hip brace, or leg cast), standard car seats often don't work. The harness constricts around the brace, leg space vanishes, and the recline angle forces uncomfortable positioning. You're left hunting for the best car seat for leg braces that won't compromise safety or daily peace of mind. The real solution isn't a luxury feature list; it's precise geometry matched to your actual vehicle.
The Core Problem: Why Standard Seats Fail
Most convertible and forward-facing seats assume legs can fold normally. When a child wears an orthopedic brace or cast, several constraints emerge immediately:
- Restricted hip flexion: The brace prevents or limits bending at the hip, meaning the child cannot sit with knees at a typical 90-degree angle.
- Abduction limiting: Many braces, especially hip braces, keep the legs in a more spread-apart position. Forcing the legs together can cause pain and cast/brace deformation.[1]
- Harness interference: A standard five-point harness has fixed strap routing. It may cross directly over the brace or cast, creating pressure points, skin irritation, or even cutting into the affected area.[1]
- Backrest gap and posture drift: Without proper hip and thigh contact, the child can slide forward, placing pressure on sensitive areas and creating excessive flexion in the neck and spine.[1]
These aren't minor comfort complaints (they are safety and medical concerns). That's why many orthopedic surgeons and pediatric occupational therapists specify that standard seats simply won't accommodate certain brace types without modification.
Measuring for Brace Compatibility: Where to Start
Before shopping, you need to know three critical dimensions.
1. Brace Width and Depth
Measure your child's brace in its widest and deepest points:
- Width: Measure side-to-side across the thickest part of the brace (in inches or mm). Hip braces often measure 8-12 inches wide; knee-specific braces may be 4-7 inches.
- Depth: Measure front-to-back at the seat where the child's thigh will rest. Hip braces can extend 3-6 inches from the body.
Record both measurements and keep them with your car seat notes.
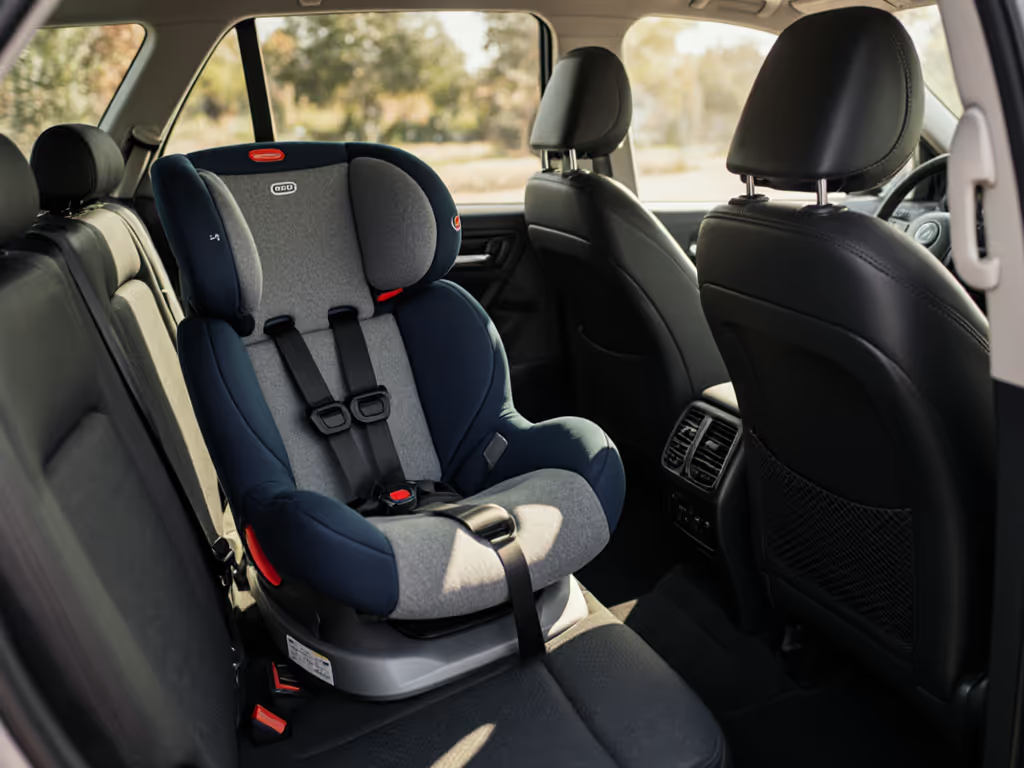
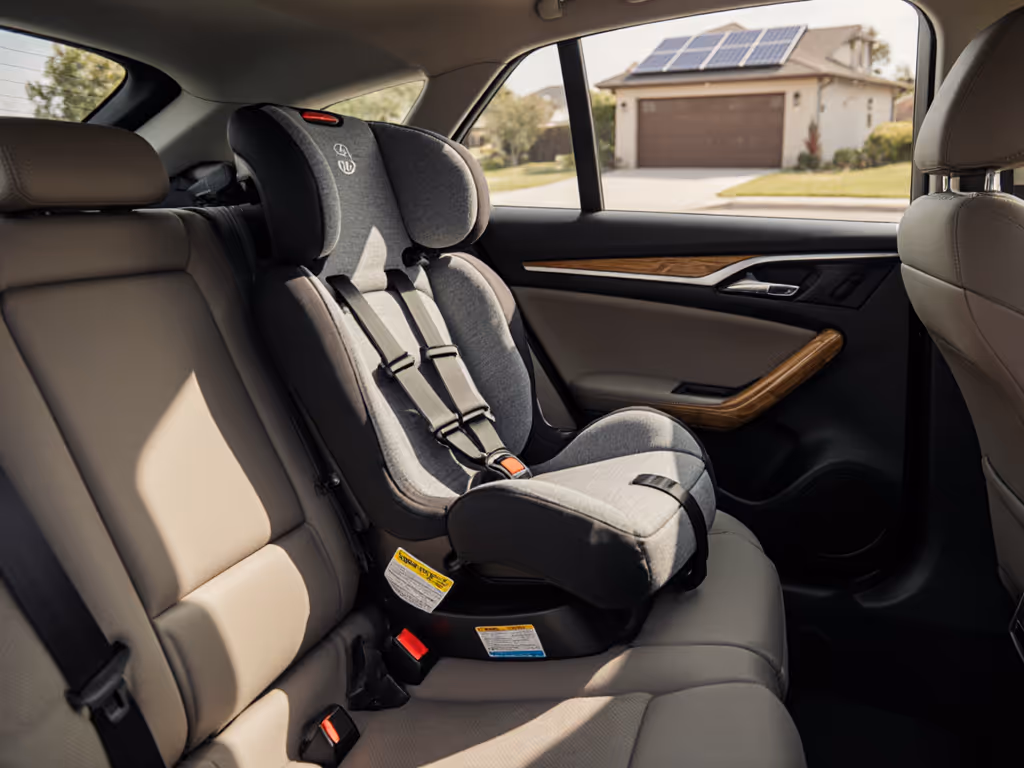
2. Seat Width and Interior Hip Space
Your child's car seat must provide enough internal width to accommodate the brace without compressing it. This is where most parents hit a wall (manufacturers rarely publish internal hip-seat dimensions).
What to measure on prospective seats:
- Interior width at lap level: Sit in the seat yourself and measure the usable space from one armrest or guide to the other, at the level where your child's hip/thigh would rest. Aim for at least 2-3 inches of clearance beyond the brace width.
- Depth of the seat pan: Measure from the backrest to the front edge of the cushion. A deeper pan accommodates more leg extension.
A seat with a 14-inch interior width may be wide enough for a typical hip brace, but a seat with only 11 inches will cause pinching.
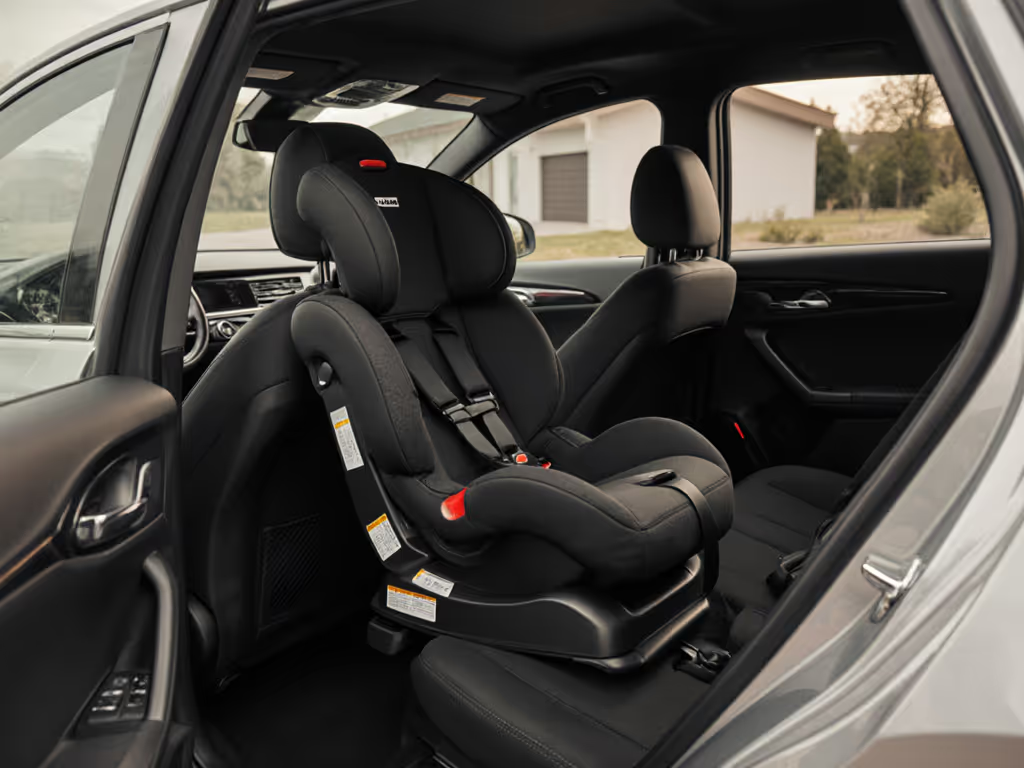
3. Harness Strap Routing and Flexibility
Check whether the harness straps can be guided around the brace or if the seat offers a modified crotch strap option.[1] Some seats allow straps to exit further outboard (toward the sides), which can clear a brace. Others are fixed. For easier day-to-day height changes around medical gear, consider a no-rethread harness car seat.
- Measure the harness exit points on the seat: how far from the center of the seat are the lowest straps?
- Ask the manufacturer or seller: Can the crotch strap be repositioned or extended to clear the brace without compromising safety?
Real-World Seat Options: What Works for Leg Braces
Based on clinical and medical guidance, certain seats have proven track records with orthopedic devices.
Convertible Seats (Rear-Facing to Forward-Facing)
If your child can spend time rear-facing while in the brace, this is often the safest and most spacious option. Extended rear-facing naturally provides more leg extension room and reduces forward torso pressure.
Key advantage: Rear-facing seats often have more interior depth and a more reclined backrest angle, reducing the need for tight hip flexion. One major option reported across pediatric settings is the Britax Safe-n-Sound Safeguard, which is compatible with modified crotch straps and can be converted between rear-facing and forward-facing.[1]
Installation repeatability: Rear-facing convertibles require a secure belt or LATCH installation, which can be practiced and tightened consistently. One rainy Saturday I tested three convertible seats in our compact hatchback, timing myself with a stopwatch between daycare pickup and grocery runs. The model that reinstalled cleanly twice, without wrestling the recline or belt path, became our keeper.
Measurement checkpoint: Confirm that the seat's rear-facing recline angle is gentle enough that your child's legs don't press hard into the brace. Measure the backrest angle (typically 35-50 degrees from vertical for rear-facing) and test it with your child in a non-moving car first.
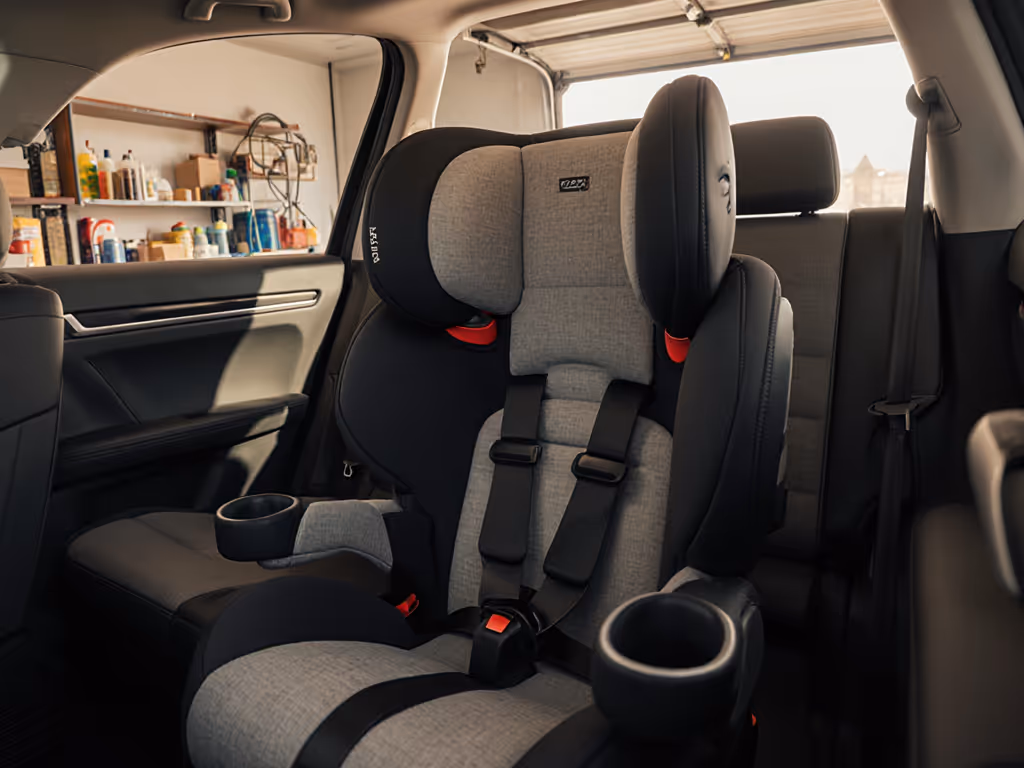
Booster Seats with Customizable Support
For children who are tall enough for a booster and whose brace allows some forward-facing, a booster seat can provide flexible positioning and easier harness management.
Why a booster helps:
- The seat is simpler to modify (harness straps route more freely).
- Height is adjustable, allowing you to raise the child to meet the vehicle's seat belt naturally.
- Lateral support can be adjusted or removed if it conflicts with the brace.
Caveat: Boosters offer less torso containment than a harness seat, so they're suitable only for children who meet the brace surgeon's clearance and local law requirements (typically height 40-57 inches, age 4+, depending on jurisdiction).[1]
Special Orthopedic-Specific Seats
A small number of seats are explicitly designed for casts and braces. The Wallenberg Child Car Seat for Hip or Arm Casts features an open-frame design with an adjustable harness that can be repositioned to clear braces and casts.[2] These specialized seats typically offer:
- Open side frames that don't compress the brace.
- Adjustable harness positions that move with the child's anatomy.
- Wider internal dimensions to accommodate rigid devices.
These are not budget-friendly, but for a child in a long-term brace, they eliminate daily installation guesswork. For a broader overview of medical-fit options and positioning aids, see our adaptive convertible car seat solutions. Measure twice, install once applies especially here: measure your brace, then verify the seat's interior dimensions against those measurements before ordering.
Installation Repeatability: The Real Measure of Fit
A seat that fits on spec but takes 15 minutes and three attempts to install correctly will fail in real life. You need a seat that installs predictably, tightly, and repeatably (especially if the child is in and out of the car multiple times daily). Use our vehicle-tuned installation guide to dial in a secure, repeatable setup.
Checklist for Repeatable Installation
- Time-to-install benchmark: Install the empty seat and time yourself. Can you achieve a tight install in under 5 minutes? In 10 minutes? Document your baseline.
- Strap routing clarity: Are the belt/LATCH paths obvious, or do you have to hunt for them each time? A seat with color-coded or clearly labeled attachment points is faster and less error-prone.
- Recline adjustment: If you use rear-facing, is the recline simple to set and lock? Can you reproduce the same angle each time you reinstall?
- Harness dress and fit: With the modified crotch strap (if applicable), can you harness your child and close the chest clip in one motion, or do you need to re-route straps?
Testing in Your Vehicle
Before committing, test the seat in your own car:
- Measure your vehicle's rear seat width and depth (center and outboard positions).
- Install the seat using the method you'll use daily (belt or LATCH). Tighten it fully.
- Try three separate installations over two days. Time each. Note any friction points (belt twisted, clip stuck, seat tipping forward).
- If installation time varies more than 2-3 minutes between attempts, investigate why. A good seat should feel the same each time.
This is not overthinking. A parent who installs the seat correctly but inconsistently on a Tuesday and then differently on a Wednesday is at risk. Repetition beats hype every time.
Vehicle-Specific Constraints: Don't Overlook Geometry
Center Seat vs. Outboard
If you need a car seat for a brace child and want the flexibility to fit it in multiple positions, test the seat in both your vehicle's center rear seat and an outboard (window-side) rear seat. Center seats present tighter geometry due to console intrusion and narrower floor space.[3]
Measure:
- Center seat width: Sit in the center position and measure the usable width (edge-to-edge where the seat cushion sits). Many compact cars and sedans have center seats narrower than 12 inches internally. A wide car seat may not fit.
- Outboard seat legroom: Measure from the front seat's closest position (which you'll use for adult passengers) to the back of the rear seat. If this distance is less than 28-30 inches, a rear-facing convertible with an extended footprint may not fit safely or comfortably.
Recline Clearance
If the car seat reclines, ensure that when fully reclined, it doesn't hit the front seat above the headrest or interfere with interior trim.
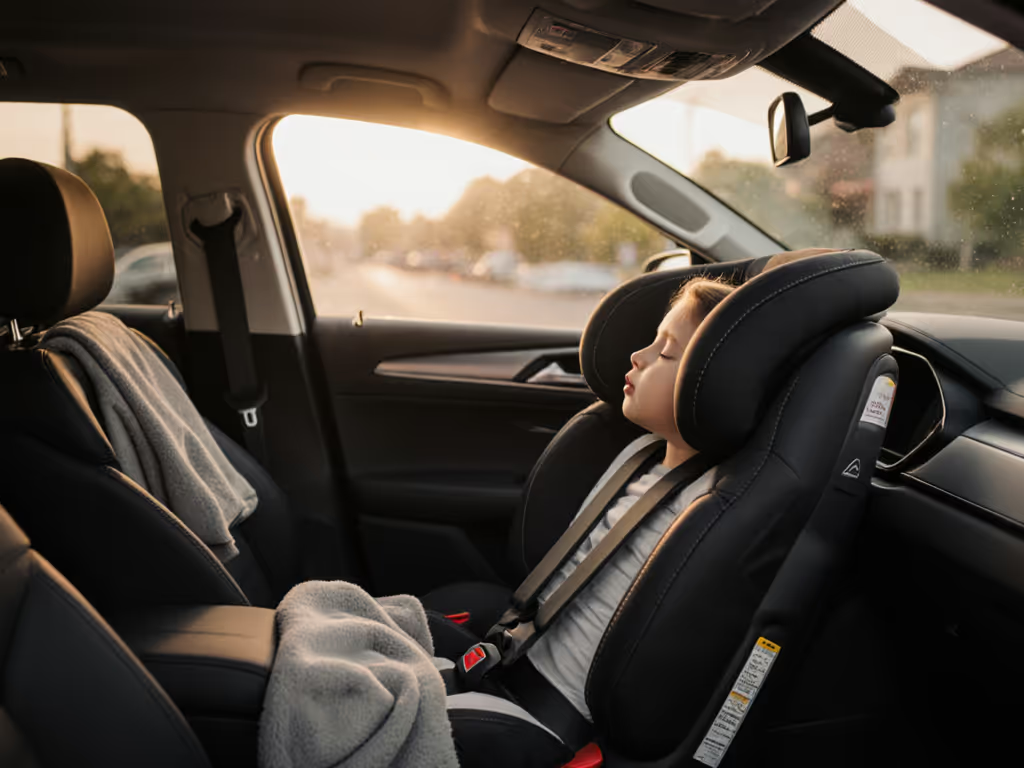
Measure the angle and height at which your child's head will rest in both forward and rear-facing modes. A child in a hip brace needs the spine well-supported; a seat that reclines too far back may tilt the pelvis and compress the brace.
Belt Path and Tether Anchors
- Locate your vehicle's LATCH anchors (if using LATCH). Some vehicles bury them far under the seat cushion or have trim pieces that obstruct easy connection. Test the connection before buying a LATCH-dependent seat.
- Trace the seat belt path: Does the belt exit your vehicle's seat-belt stalk at an angle that will guide it cleanly through the car seat's belt slots, or will it twist or pinch? A twisted belt won't tighten evenly and reduces restraint integrity.
These details determine whether a seat installs easily twice or becomes a daily frustration.
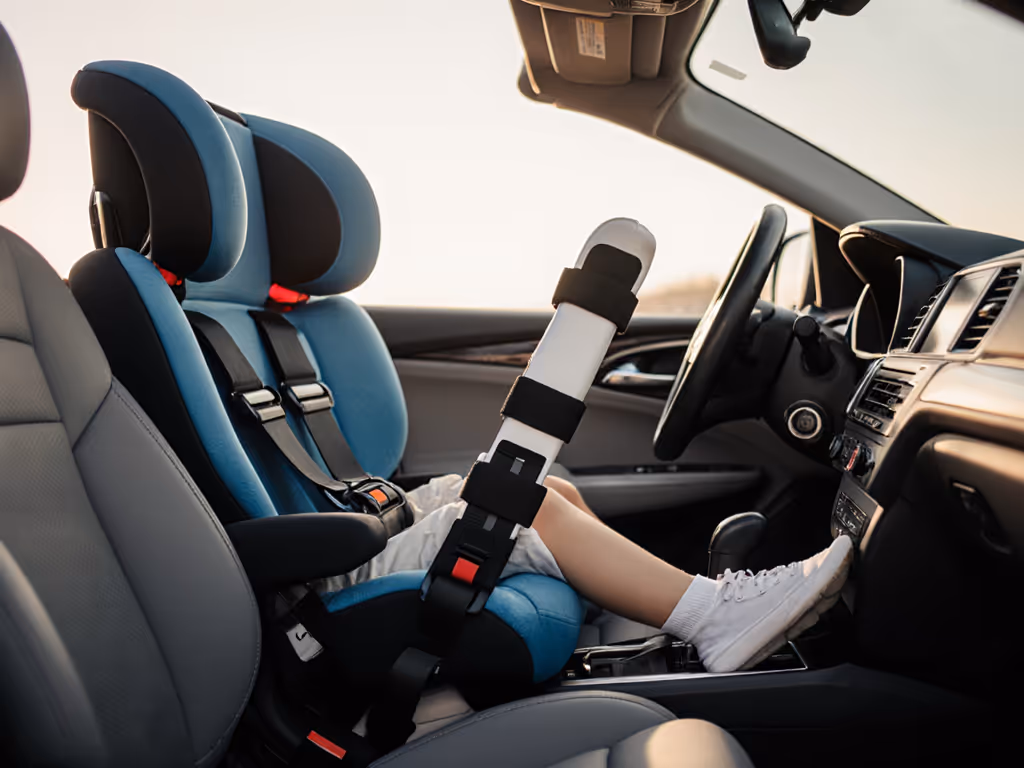
Harness Adjustment for Braces: Modified Strap Routing
Most standard car seats have a fixed five-point harness with a crotch strap that routes between the legs. For a child in a brace, this straight path may not work.
Modified Crotch Strap: What It Is
A modified crotch strap routes around the outside of the brace or legs rather than between them. This preserves the harness's forward and lateral restraint while avoiding direct pressure on the brace or genitals.[1]
If a seat accepts a modified crotch strap:
- The strap still clips into the child's harness buckle.
- Instead of passing between the legs, it exits the harness at the sides and routes outboard of the thighs and brace, then re-connects to the buckle or clips into seat-mounted guides.
- This is not a makeshift solution (it is an approved modification recognized by pediatric occupational therapists and orthopedic teams).[1]
Seats That Support This Modification
Manufacturers like Britax offer kits (e.g., Britax 0294 Hip Spica Kit) that enable modified crotch-strap routing on certain models.[1] If you're considering a specialized orthopedic seat or a modified standard seat, ask the manufacturer or your child's medical team whether they endorse the specific strap configuration.
Legal note: A modified crotch strap does not comply with standard car-seat regulations (AS/NZS 1754 in Australia, FMVSS 213 in the US) as installed. In many jurisdictions, you'll need a medical certificate or prescriber form to legally use a modified strap.[1] Verify your local requirements before installation.
Comparative Fit Summary: Rear-Facing vs. Forward-Facing
| Factor | Rear-Facing Convertible | Forward-Facing Harness | Booster Seat |
|---|---|---|---|
| Leg space with brace | Excellent (extended footwell) | Good to Fair (depends on seat depth) | Good (booster height raises child) |
| Hip flexion demand | Lower (reclined backrest) | Higher (more upright) | Moderate (depends on cushion angle) |
| Harness modification | Moderate (rear-facing layout is simpler) | Moderate to Complex (depends on strap routing) | Easy (booster is more flexible) |
| Installation repeatability | High (simpler belt/LATCH path) | Moderate (more complex harness adjustments) | Very High (straightforward belt integration) |
| Cost | $$-$$$ | $$-$$$ | $ |
| Age/size range | 0-4 years (varies by model) | 1-6 years (varies by model) | 4+ years (varies by model) |
| Regulatory approval for modified strap | Yes (for approved models) | Yes (for approved models) | Often unnecessary (fewer strap routings) |
Real-World Timeline: From Brace to Seat Selection
If your child has been prescribed an orthopedic brace and needs a car seat, the timeline matters.
First 6 weeks (acute brace/cast phase):
- The brace is non-removable (23-24 hours per day wear).[1]
- Standard seats will almost certainly require modification or won't work.
- A rear-facing convertible with modified crotch strap support is your best bet if the child is in rear-facing age/size.
- Expect to work with your child's orthopedic surgeon and occupational therapist to approve modifications.
6-12 weeks onward (transition phase):
- The surgeon may approve limited brace removal for short trips (e.g., 10-15 minutes of car travel with brace off).[1]
- You have options: remove the brace for the car ride (if approved), or stick with a modified seat.
- Rear-facing is still recommended if the child meets size requirements and the car seat is compatible. Worried about leg injuries while rear-facing? See our evidence-based myth guide.
3+ months (clearance phase):
- Longer periods out of the brace may be approved, giving you more flexibility.
- Forward-facing or booster-seat options may become available as the brace wear decreases.
- Plan your long-term seat choice now, even if short-term modifications are in place.
Installation Checklist: Measure Twice, Install Once
Before you install a new car seat for a braced child, run through this checklist:
- ☐ Brace measurements: Width (in.), depth (in.), and any height or angle restrictions.
- ☐ Vehicle dimensions: Rear-seat width (center and outboard), legroom, belt-stalk angle, LATCH anchor locations.
- ☐ Seat interior dimensions: Hip width, seat-pan depth, harness exit points, recline range.
- ☐ Harness routing: Can straps be repositioned? Is a modified crotch strap available? Do you have a medical certificate if needed?
- ☐ Tether and belt paths: Tested for twist, obstruction, and clean tightening.
- ☐ Installation time trial: Three separate installs over two days, timed and logged. Consistency = safety.
- ☐ Child comfort test: Sit with the child in the secured seat (car off, parked). Brace under pressure? Straps digging? Backrest angle acceptable?
- ☐ Surgeon/OT clearance: Written approval of the seat and any modifications.
Final Verdict
A car seat for a braced child is not a standard purchase. The best seat isn't the one with the most features or the highest price (it is the one that fits your child's brace geometry, installs repeatably in your vehicle, and earns approval from your medical team).
If it installs easily twice, it fits your real life. Start by measuring your brace and vehicle, test potential seats with hands-on installs in your car, and prioritize rear-facing options (if age-appropriate) for their superior leg accommodation and simpler modification paths. Work with your child's orthopedic surgeon or occupational therapist to identify approved models and strap configurations, and always verify that you meet local regulatory requirements for modified harnesses.
The seat that feels most confident during your third installation (not your first) is the one you chose right.
Related Articles