Ride-Share Car Seat Safety: Quick Install for Uber/Lyft
By Nandita Rao • 14th Nov
If you've ever felt that stomach-dropping moment when your Uber arrives and you realize you forgot your portable car seats for Uber, you're not alone. Many caregivers wrestle with the reality that while ride-share companies are technically exempt from child passenger safety laws in most states, your child's safety shouldn't be. Finding reliable ride-share car seats that install quickly in unfamiliar vehicles can feel overwhelming, especially when you're already juggling bags, snacks, and a wiggly toddler. I've stood in parking lots with new parents who whispered, "I'm scared I'll do it wrong," hands hovering over buckles. That's why I focus on building confidence through repeatable processes you can trust.
What You Need to Know Before Your First Ride
Before you open that ride-share app, understand the landscape:
- Legal reality: Most states, including Colorado, exempt taxis and ride-shares like Uber and Lyft from child passenger safety laws. This means drivers aren't legally required to provide car seats, and you won't face fines for not bringing one.
- Safety reality: Exemption doesn't equal safety. The American Academy of Pediatrics and NHTSA consistently state that children are safest in properly installed car seats appropriate for their age, height, and weight, even in ride-shares.
- Vehicle reality: Ride-share cars vary wildly in seat geometry, belt paths, and available space. Your primary seat might not fit, making a dedicated travel car seat essential. If backseat space is tight, our top slim convertible car seats list highlights models that fit small sedans and economy ride-shares.
Remember: Colorado Department of Transportation safety experts recommend children under 13 ride in the back seat because airbags are designed for adult protection. Never place a rear-facing seat in front of an active airbag.
Choosing Your Portable Safety Partner
Look for these features in quick-install car seats designed specifically for ride-shares:
- Lightweight construction: Stay under 15 pounds for easy carrying between vehicles
- Clear belt path indicators: Color-coded guides prevent threading errors
- Simple recline adjustment: No tools needed for proper angle
- Minimalist harness system: Fewer straps to tangle during rushed installations
- Compact footprint: Fits in tight back seats common in economy ride-share vehicles
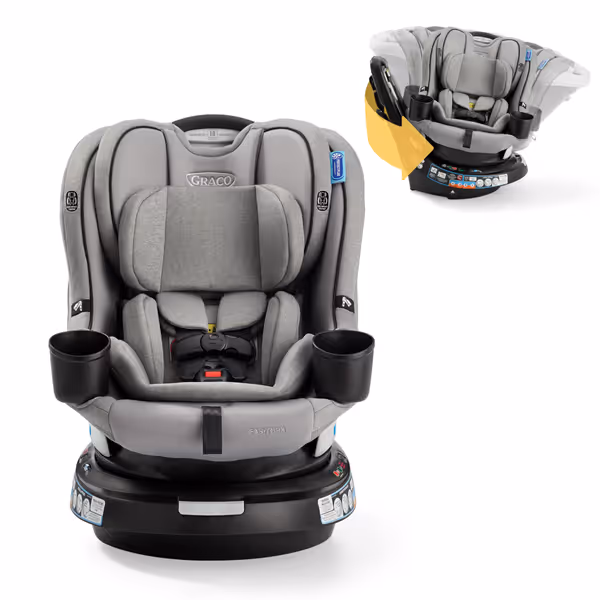
Graco EasyTurn 360
Effortless 360° rotation for easy ins and outs.
$349.99
Rotation360° one-hand swivel
Rotation360° one-hand swivel
Pros
Easy child access with 360° rotation
Quick, secure installation with SnugLock & InRight LATCH
Slim design saves space, accommodates growth
Cons
Potentially large footprint for very small cars
Customers find the car seat's 360-degree swivel feature to be a game-changer, making it easy to get babies in and out of the vehicle. Moreover, the seat receives positive feedback for its quality, ease of installation, and value for money, particularly noting it's the best rotating convertible car seat for its price. Additionally, customers appreciate its spacious design that accommodates growing children, its comfort, and safety features that make them feel confident about their child's protection.
Customers find the car seat's 360-degree swivel feature to be a game-changer, making it easy to get babies in and out of the vehicle. Moreover, the seat receives positive feedback for its quality, ease of installation, and value for money, particularly noting it's the best rotating convertible car seat for its price. Additionally, customers appreciate its spacious design that accommodates growing children, its comfort, and safety features that make them feel confident about their child's protection.
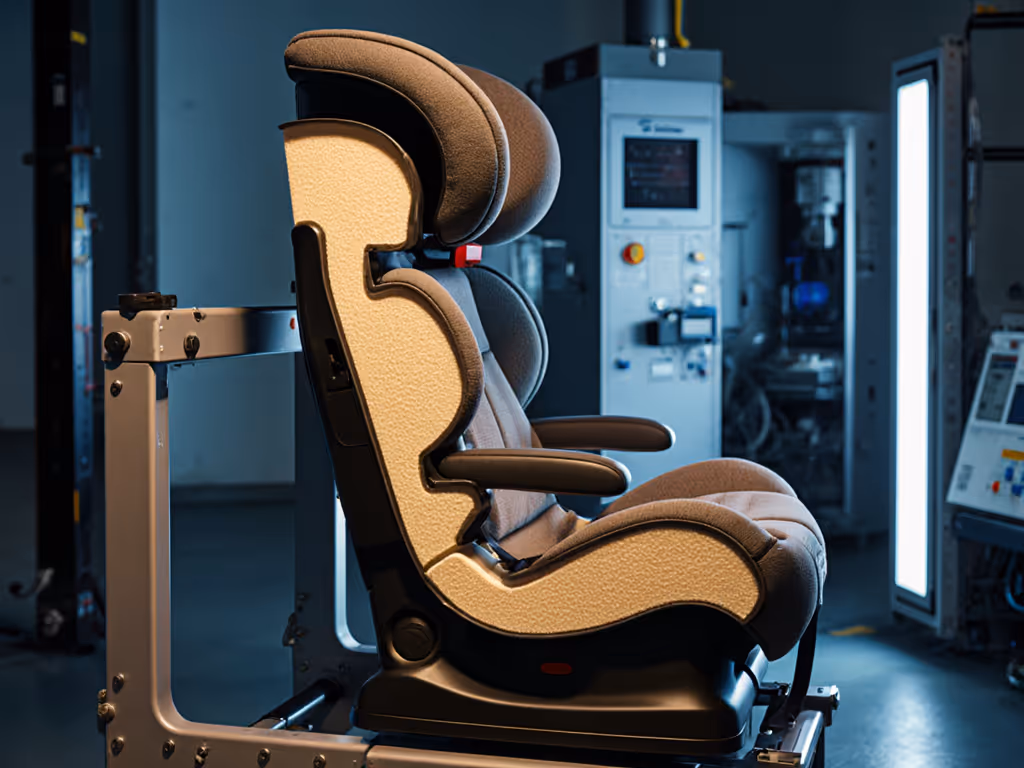
Don't assume 'convertible' means portable, many weigh 30+ pounds. The best portable car safety seat for your needs will prioritize one-handed adjustments and clear visual cues over premium features you won't use during quick installs.
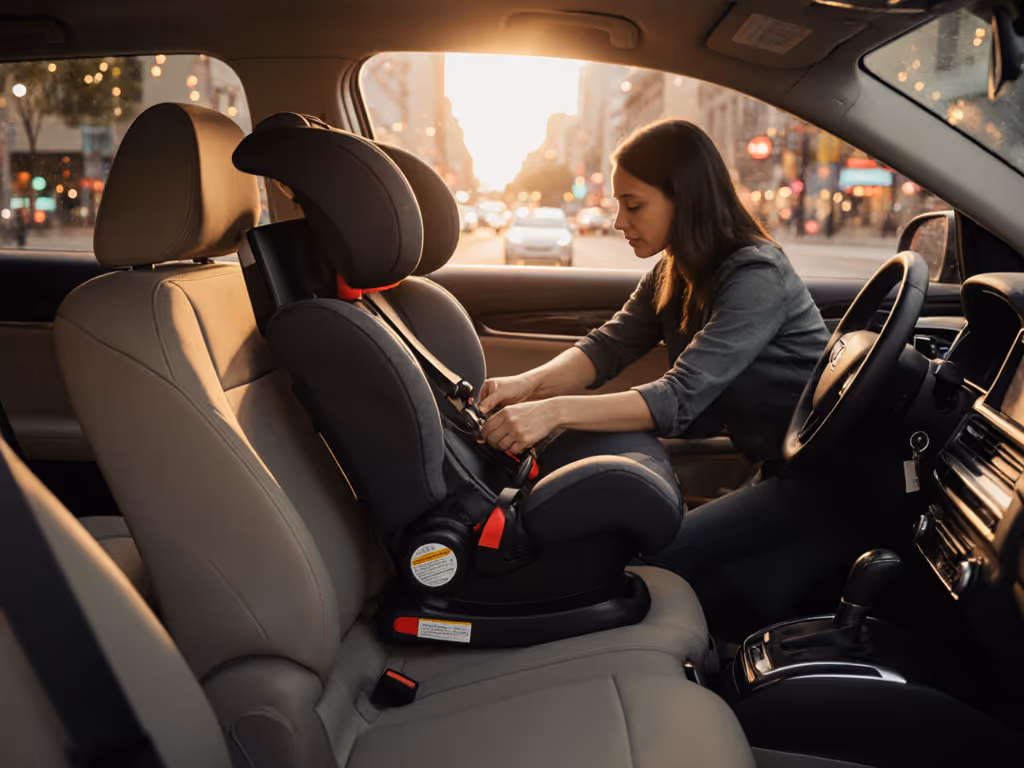
Your 5-Minute Ride-Share Installation Guide
Follow these steps every time you install in an unfamiliar vehicle. Practice these with an empty seat at home first, confidence builds through repetition.
Step 1: Prepare Your Seat and Vehicle
- Remove headrests if they interfere with proper seatback contact (common in compact cars)
- Position seat belt fully extended before threading
- Lay seat flat on the vehicle seat (don't let it tilt forward)
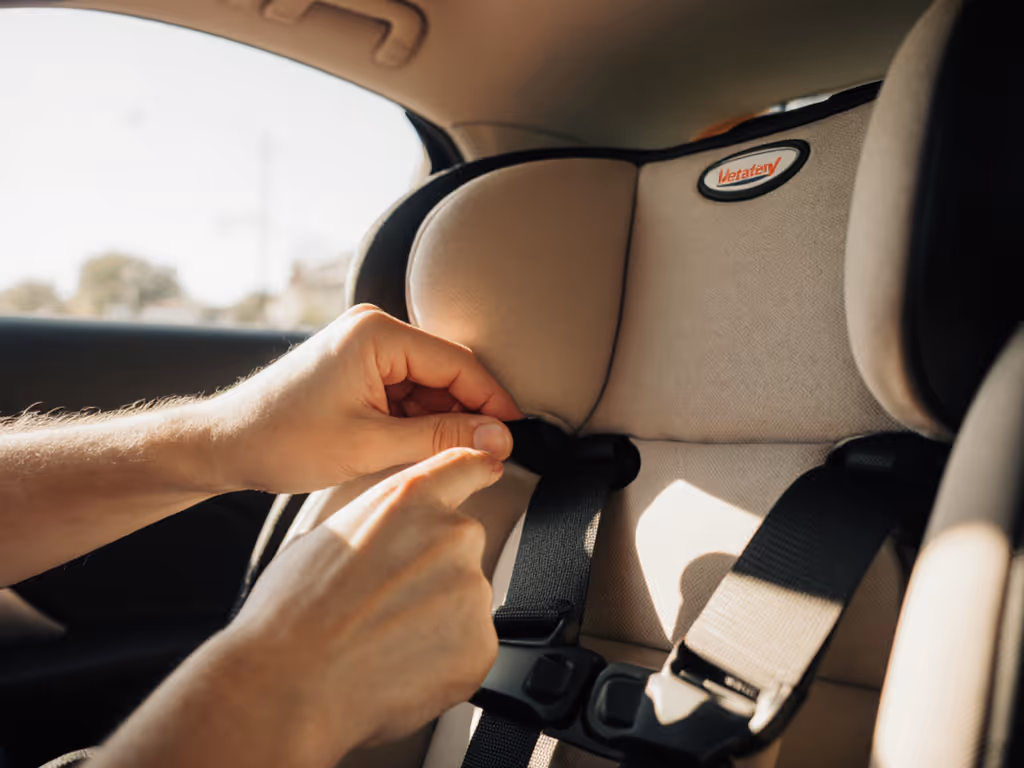
Step 2: Route the Seat Belt Correctly
This is where most errors happen in unfamiliar vehicles:
- Locate your seat's belt path (usually marked with color or symbols)
- Feed vehicle seat belt through path, pull tight before locking
- Lock seat belt using the vehicle's built-in mechanism (most newer cars auto-lock during emergency braking)
- Push down firmly on the car seat while pulling excess belt strap
TEST: Grasp seat at belt path, shake firmly. Less than 1 inch of movement side-to-side or front-to-back means you've achieved secure installation. If you’re unsure about belt locking or LATCH in a specific vehicle, follow our vehicle-tuned installation guide.
Step 3: Set Proper Recline Angle
Many ride-share vehicles have upright seats that create unsafe angles for infants:
- For rear-facing infants: Use rolled towel under base until bubble level shows 30-45 degree angle
- For toddlers: Keep seat more upright (20-30 degrees)
- VERIFY: Baby's chin shouldn't touch chest; head should stay supported
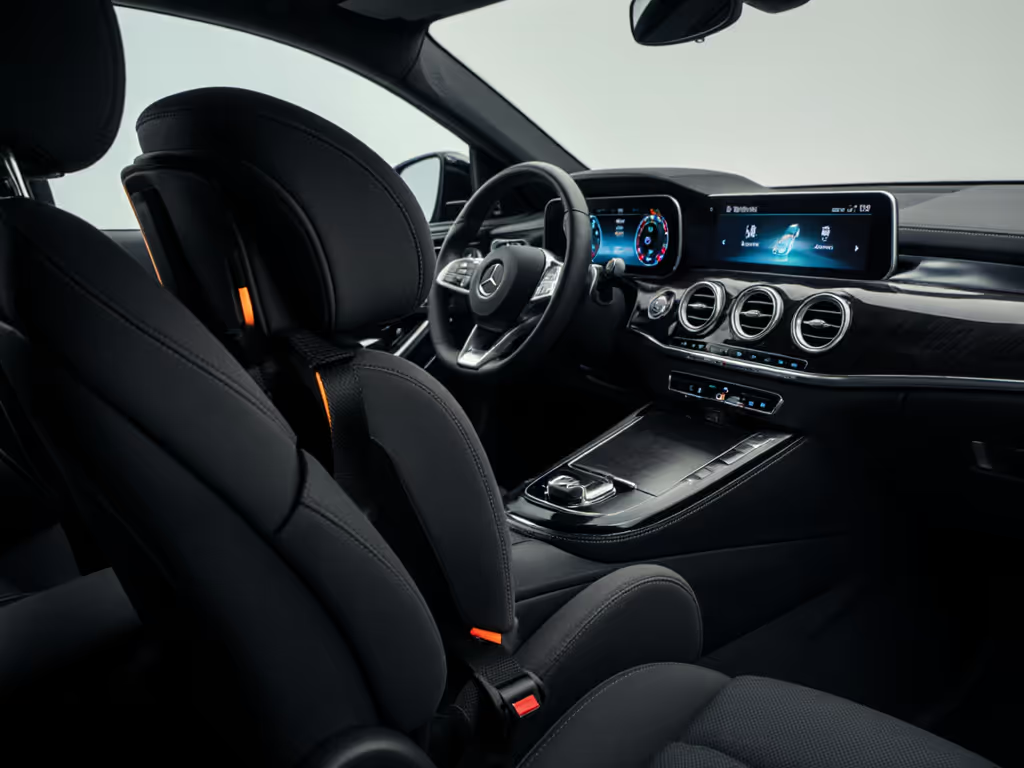
Step 4: Position in the Back Seat
- Center position is safest when available (most ride-shares have split-fold seats)
- If using side position, move front seat forward to maximize legroom
- NEVER install rear-facing in front seat with active airbag
Step 5: Harness Check - Every Single Time
Ride-share movement creates unique harness challenges:
- POSITION: Shoulder straps at or below baby's shoulders for rear-facing; at or above for forward-facing
- TIGHTEN: Pinch test, if you can pinch harness webbing at collarbone, it's too loose
- CENTER: Chest clip at armpit level
RECHECK: After the first minute of driving, vehicle movement often loosens straps
Building Your Confidence Routine
True confidence with car seats for Lyft comes from practiced routines, not perfection:
- Create a visual checklist on your phone with photos of:
- Correct belt path routing
- Proper recline angle
- Tight harness position
- Practice blind installs at home, time yourself reinstalling without looking at instructions
- Do routine dry runs during low-stress moments (e.g., weekend afternoons)
- Use the "two reinstall" rule: If you're nervous, install, remove, and reinstall before buckling your child If you often swap seats between caregivers or vehicles, compare transfer mechanisms that speed up re-installs.
When I worked with that nervous parent in the library parking lot, we didn't just install once, we did it twice without the manual. That repetition transformed anxiety into assurance. Your muscle memory will follow the same path.
Making It Part of Your Routine
The most common mistake I see isn't incorrect installation, it's inconsistency. Your safety system only works when it's repeatable across all scenarios. Add these to your pre-ride routine:
- Pack your portable seat with diaper bag (not trunk) for quick access
- Set phone reminder 15 minutes before ride arrival: "Seat + Base Check"
- Teach older children the "seat dance", wiggling to help you check tightness
If your child protests while you verify installation, say "This is how we keep you safe," it builds their understanding of safety as non-negotiable, not optional.
Never skip this step: Always refer to your specific car seat manufacturer's height and weight limits, even during quick installs. A seat that fits your vehicle might not fit your child's current size. For fit-by-size specifics, see our rear-facing height limits guide.
Your Next Step to Confident Rides
This weekend, take 15 minutes to practice installing your portable seat in your own vehicle exactly as you would in a ride-share. No child, no pressure, just you building the muscle memory that creates confidence. Take photos of each correct step on your phone for quick reference. When that Uber notification pings next time, you won't wonder "Did I do it right?" You'll know. Confidence is repeatable installs, snug harness checks, and simple routines that protect what matters most. Now go practice, I'll be right here when you're ready to try it for real.
Related Articles