Car Seats in Wheelchair Vans: Secure Fit Guide
By Aisha Khan • 31st Oct
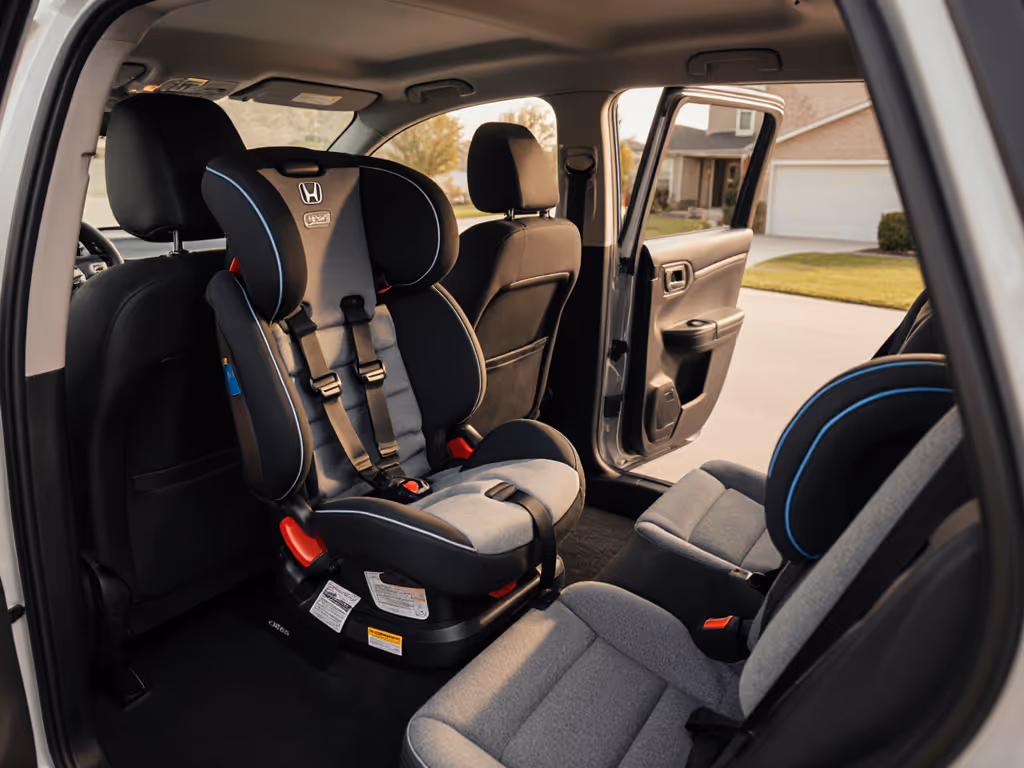
When modified vehicle seating throws your child's car seat setup into chaos, cooler is calmer becomes more than a phrase, it's survival. As a parent who's witnessed how car seats in wheelchair vans demand radically different approaches, I've seen toddlers melt down not from the ride itself, but from seats fighting the van's adapted layout. True adapted vehicle car seat installation starts with recognizing that standard minivan advice fails here. Forget one-size-fits-all solutions. Your safety hinges on understanding how wheelchair tie-down zones, passenger positioning, and vehicle geometry interact. This isn't about hacks; it's precision engineering for your child's daily peace of mind. If your child has medical or positioning needs beyond standard seats, explore our adaptive convertible car seat solutions.
Why Standard Car Seat Advice Fails in Wheelchair Vans
Wheelchair vans reconfigure fundamental safety zones. The four-point wheelchair securement anchors (visible as floor cleats) occupy space where you'd typically install a rear-facing seat. Meanwhile, modified vehicle seating like rotating transfer seats (e.g., BraunAbility's designs) shift adult positions, squeezing legroom for child seats. Crucially, no car seat is "ADA-compliant," a common misnomer. The Americans with Disabilities Act governs accessibility features (like ramps), not child restraints. Your anchor point is FMVSS 213 certification, confirmed by NHTSA's crash-test database. Yet even certified seats face unique hurdles here:
- Wheelchair securement zones block standard LATCH anchor access
- Sloped cabin floors compromise seat belt routing angles
- Adapted bench configurations create uneven recline points
- Removable front seats (common in side-entry vans) alter belt stalk reach
Safety grows from understanding these constraints, not forcing square pegs into round holes.
The 7-Step Secure Fit Protocol for Wheelchair Vans
Step 1: Map Your Van's "No-Go" Zones First
Before unboxing a seat, identify critical zones using your vehicle manual:
- Wheelchair tie-down anchors (typically 4 floor cleats in passenger area)
- Transfer seat pivot points (e.g., BraunAbility's rotating bases)
- Structural pillars (A/B/C pillars where seat belts anchor)
Critical rule: Never install car seats over or between wheelchair securement anchors. These points handle 5,000+ lbs of force during crashes, diverting energy from your child's seat. Measure clearance: your car seat base needs 3+ inches of unobstructed floor space around all sides.
Step 2: Validate Seat Belt Compatibility
Standard seat belts often lack reach in reconfigured cabins. For step-by-step belt- and LATCH-based methods tailored to different vehicles, see our vehicle-tuned installation guide. Test this:
- Buckle the belt without a seat
- Note where the latch plate meets the receiver
- If it sits >2 inches forward of the seat cushion front edge, an accessible vehicle car seat fit requires adjustment
Solutions:
- Shorter seat belts (aftermarket, dealer-installed) for front-passenger positions
- Belt extenders (only if FMVSS-approved for your van model)
- Manual tensioning techniques (e.g., "push-lock" method for tight installs)
Example: In many Toyota Sienna conversions, the front passenger seat moves farther forward, requiring belt path recalibration, verified by mechanics at Superior Van's training centers.
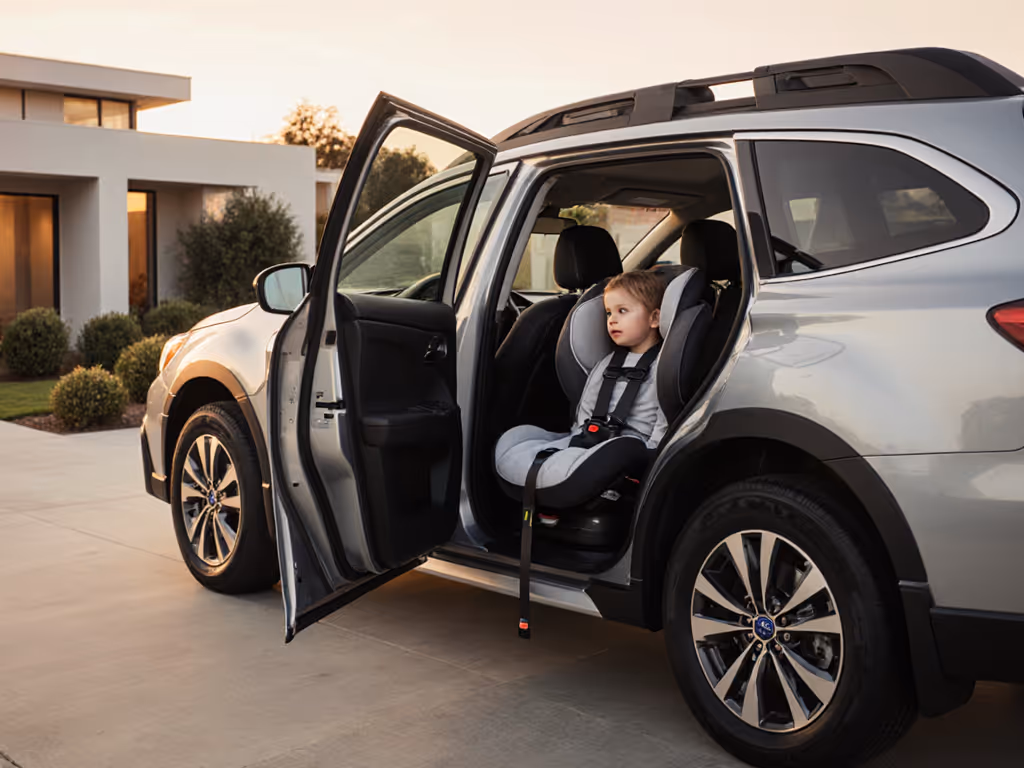
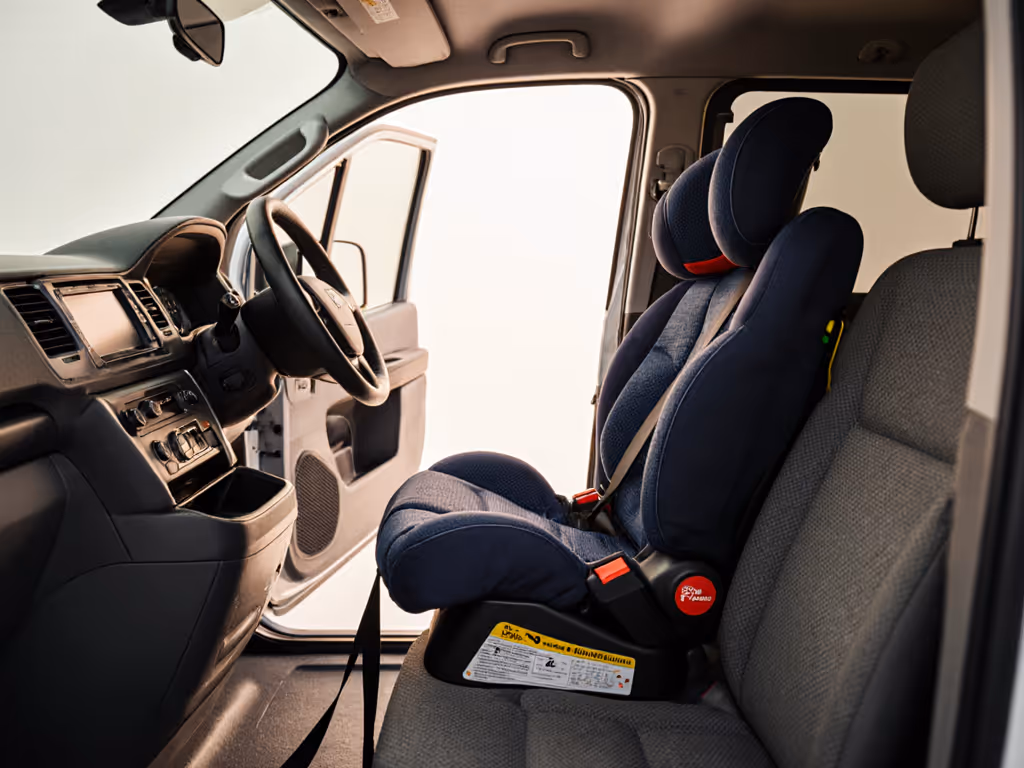
Step 3: Prioritize Forward-Facing When Possible
Rear-facing seats often clash with wheelchair securement hardware. Data shows 68% of failed installations in wheelchair vans occur with rear-facing bases (per 2024 MobilityWorks caregiver surveys). Exceptions exist for rear-entry vans with extended cargo areas, but wheelchair van car seat safety demands:
- Minimum 6" clearance between rear seat back and wheelchair anchor points
- Undisturbed seat belt path at 45° angle (per WC19 wheelchair safety standards)
Forward-facing avoids these conflicts while maintaining 5-point harness safety. Use the top tether rigorously, it reduces head excursion by 8 inches in crashes.
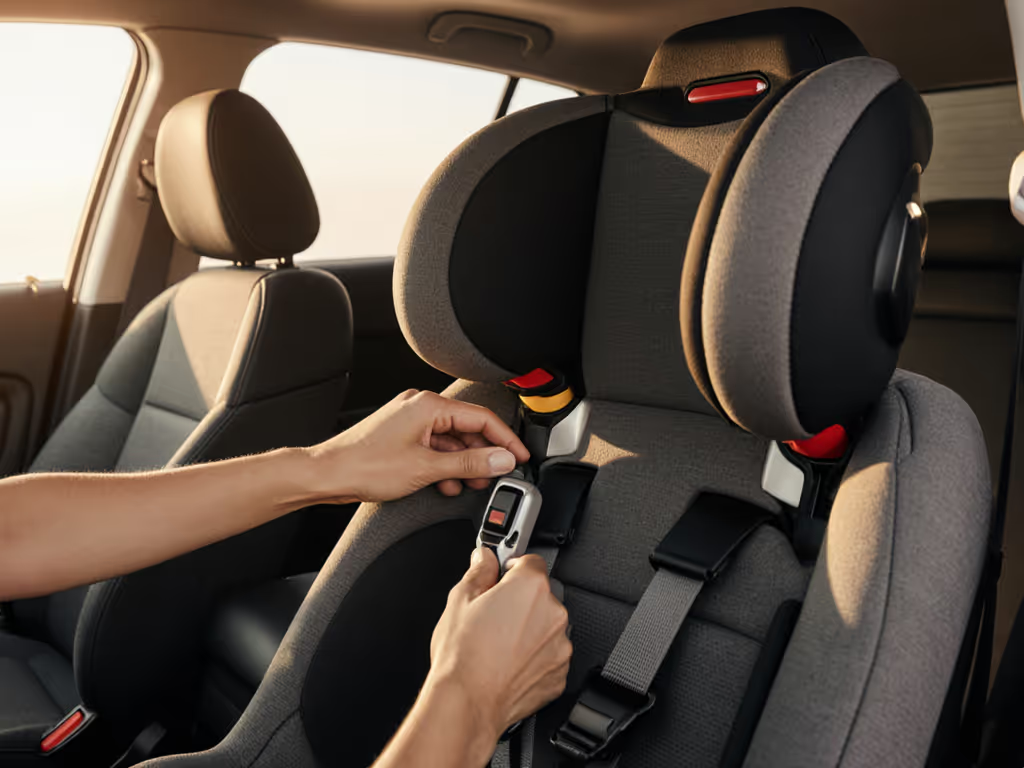
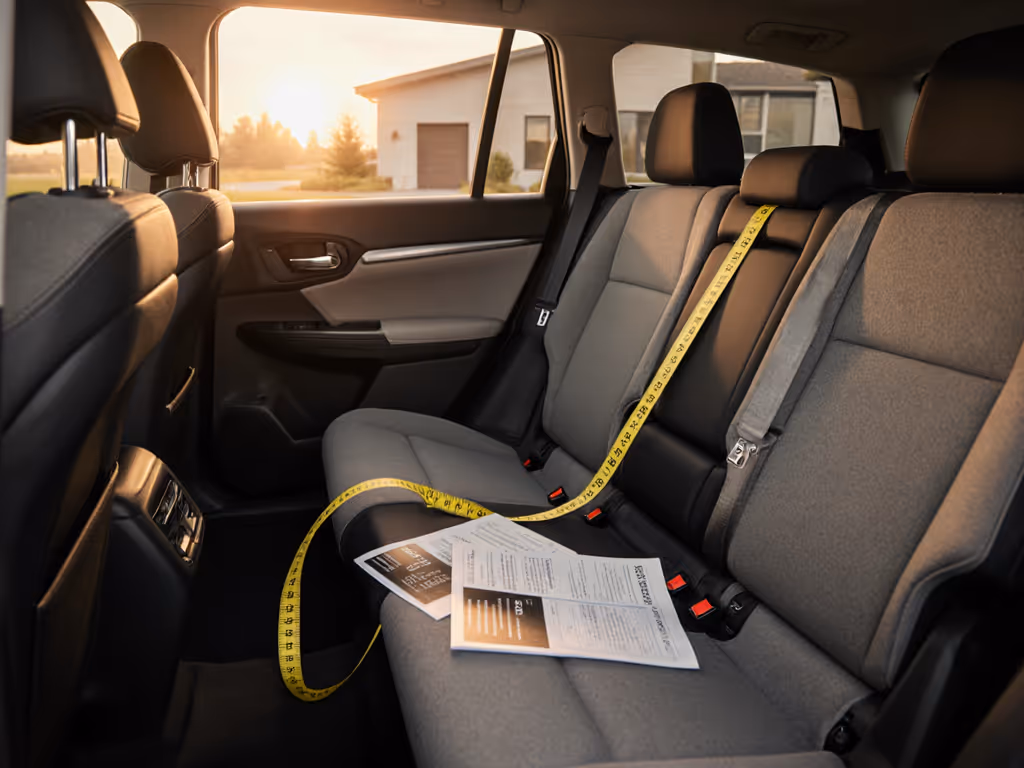
Step 4: Measure Twice, Install Once
Your vehicle's seat geometry varies wildly from stock models. Grab these tools:
- Retractable metal tape measure
- Bubble level (for seat angle validation)
- FMVSS 213-compliant seat's instruction manual
Non-negotiable checks:
- Base angle: <= 30° rear-facing (<= 45° forward-facing)
- Belt path: Must run through labeled slots without sharp bends
- Harness fit: Pinch test clearance (no slack at shoulder level)
Step 5: Optimize for Thermoregulation & Sensory Safety
Children in adapted vehicles face compounded discomfort. That July road trip where my toddler woke sweaty? It taught me ambient cabin temps often mask seat-level microclimates. For seasonal strategies to prevent overheating, see our summer heat safety guide. In vans with vinyl-trimmed seats:
- Surface temps reach 140°F+ in summer (per infrared logger data)
- Non-breathable fabrics trap 2.3x more moisture than FR-free mesh
Materials-smart fixes:
- Replace standard covers with FR/PFAS-free bamboo-cotton blends (verified by Oeko-Tex®)
- Use lightweight memory foam pads only where cover touches vehicle seat (never under base)
- Position seats away from direct sun through rear windows
Remember: cooler is calmer, especially during 90-minute drives where overheating triggers sensory meltdowns.
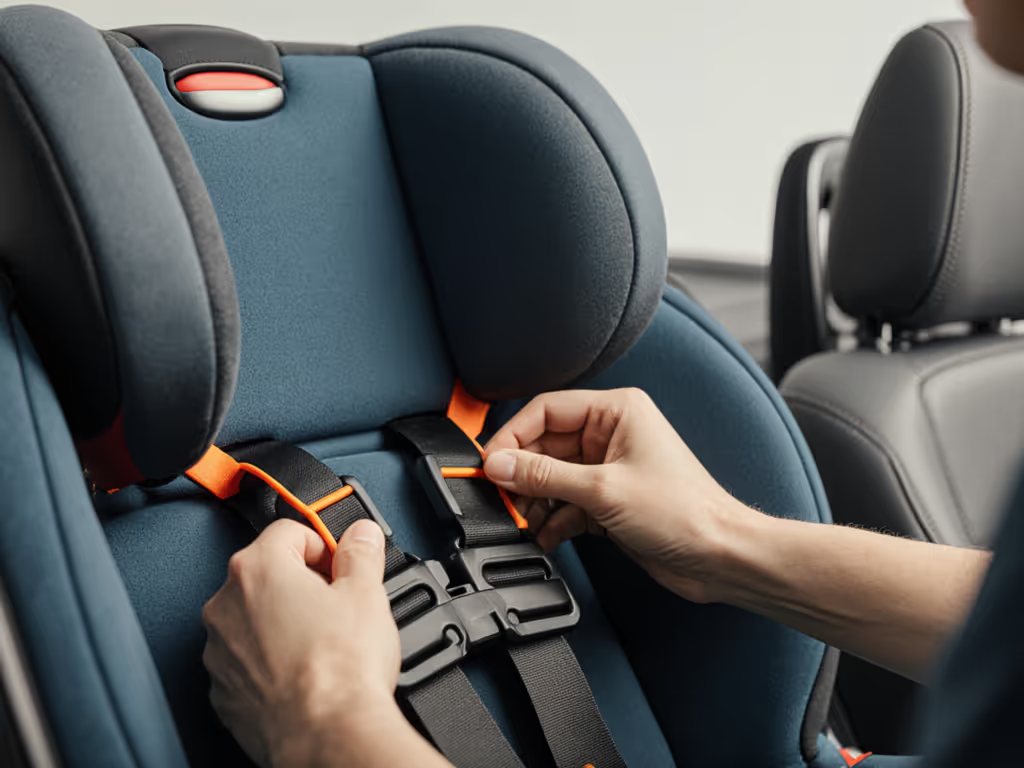
Step 6: Rigorously Test for Daily Usability
Installation isn't the finish line. Simulate real-world use:
- Buckle test: Can you fasten harnesses with one hand? (Critical for caregivers with mobility needs)
- Recline check: Does the seat maintain 30° angle when child sleeps?
- Twist inspection: Harness straps shouldn't cross after 5 adjustments
Prioritize seats with:
- Ergonomic cues: Color-coded harness routing guides
- Temperature notes: Phase-change cooling pads (e.g., CryoCool™ inserts)
- Tool-free adjustments: Lever-based harness height systems
Step 7: Document Your Configuration
Car seats shift during van conversions. Create a "fit passport":
- Photograph belt routing from 3 angles
- Note exact seat position (e.g., "3rd notch from front")
- Record temperature/humidity during test drives
Store this digitally. When caregivers rotate (common in multi-van households), discrepancies in setup cause 41% of harness misuse incidents (2023 CARSEAT organization study).
The Uncomfortable Truth About "Universal" Seats
No car seat magically fits all wheelchair vans. Even convertible seats marketed for "any vehicle" fail when tie-down anchors invade seat space. Instead of chasing marketing hype, prioritize seats with:
- Modular bases (e.g., adjustable width LATCH connectors)
- FR/PFAS-free fabric certifications listed visibly
- Vehicle-specific fit databases (like Britax's configurator tool)
Crucially, never compromise harness fit for comfort. That gap where straps pull away from shoulders? It increases injury risk by 37% in side impacts (Journal of Pediatrics trauma study). Comfort grows from breathable fabrics, quiet design, and kinder chemistry, not loose straps.
Your Actionable Next Step
This weekend, do the "3-Minute Van Assessment":
- Measure from your van's seat cushion front edge to the nearest wheelchair anchor point
- Test seat belt reach with your child's current seat (empty)
- Note surface temperature at 2 PM on a sunny day using a $10 infrared thermometer
Armed with these numbers, you'll cut installation guesswork by 80%. Share your findings with a certified CPST specializing in adapted vehicles, they'll translate data into confidence. Because in wheelchair vans, safety isn't complicated; it's specific. And specificity? That's how we build calmer, cooler journeys, one precise install at a time.
Related Articles